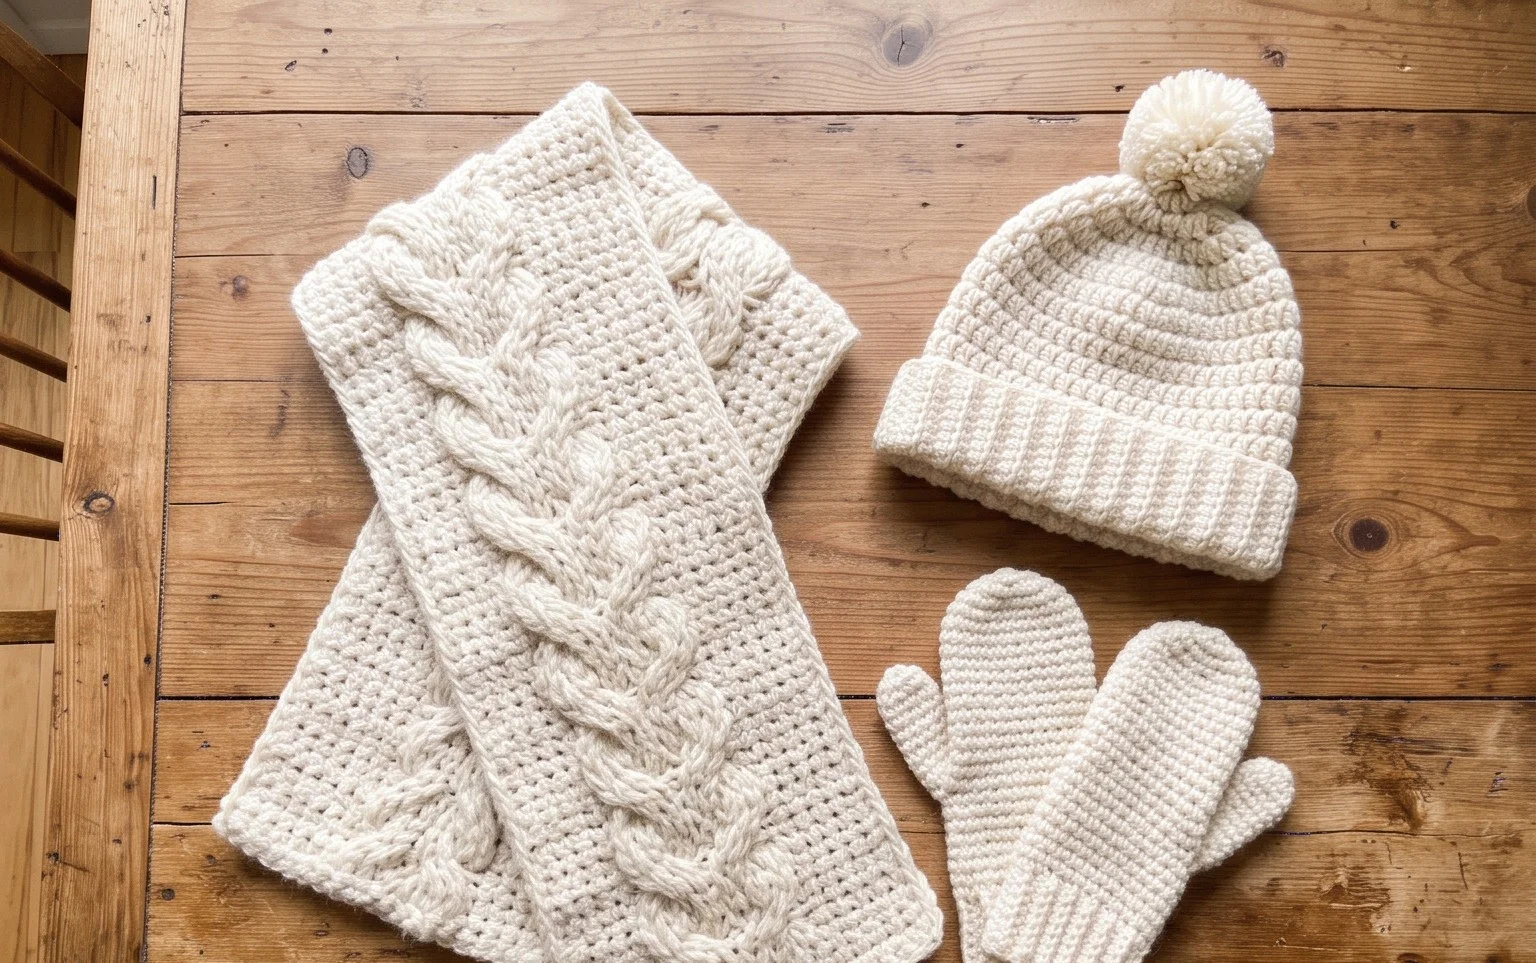
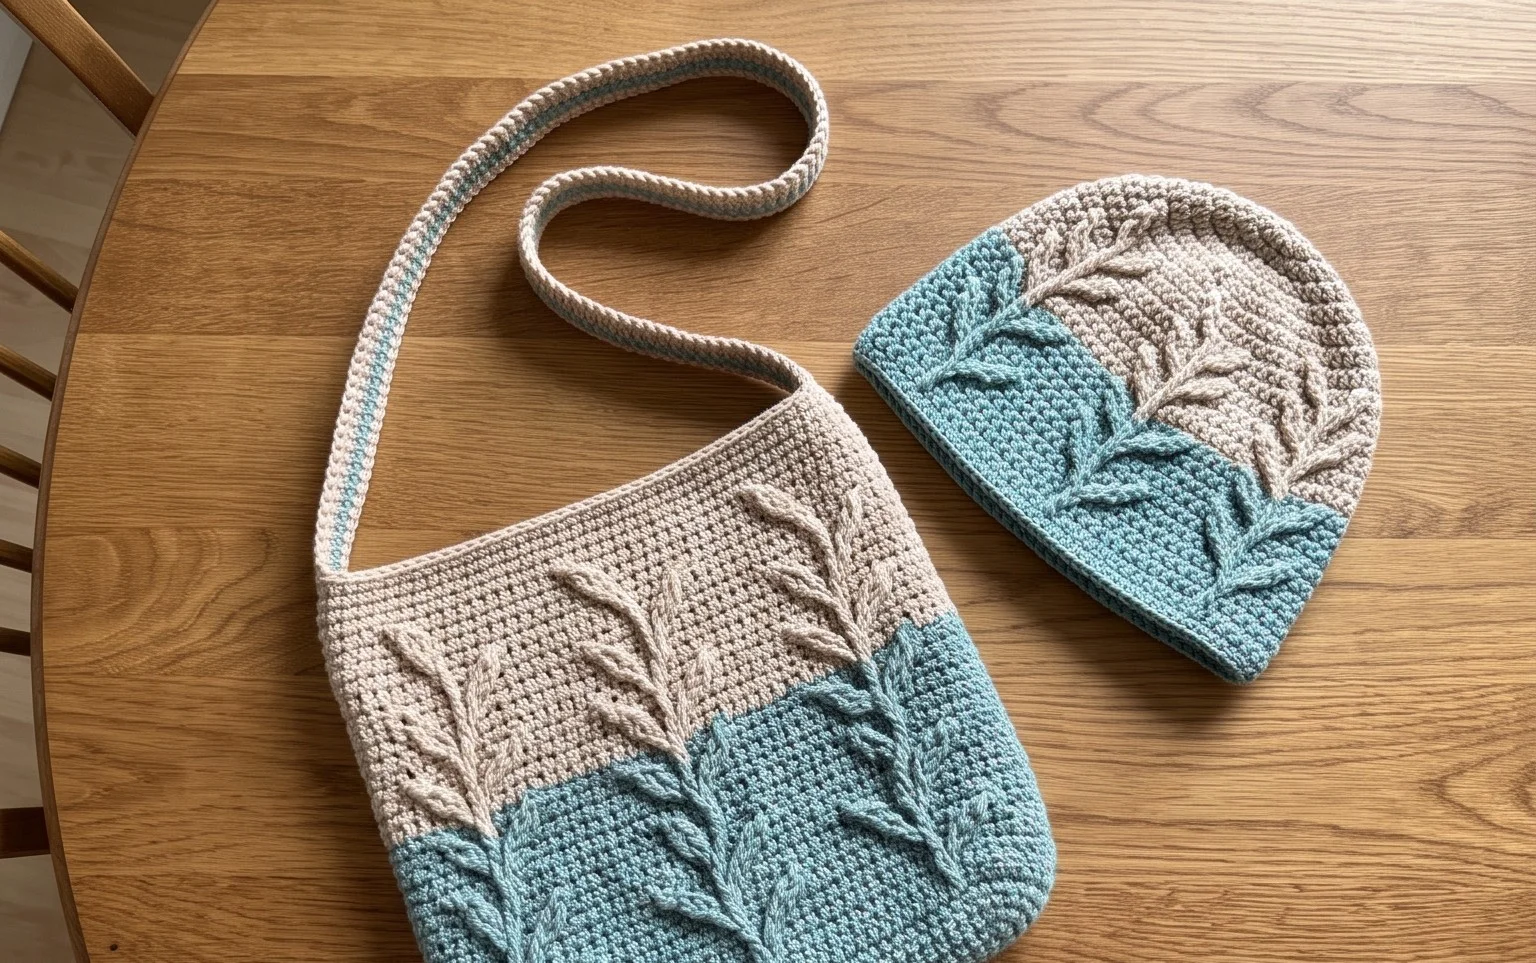
Easy Farmhouse Dish Set Crochet Pattern: Step-by-Step
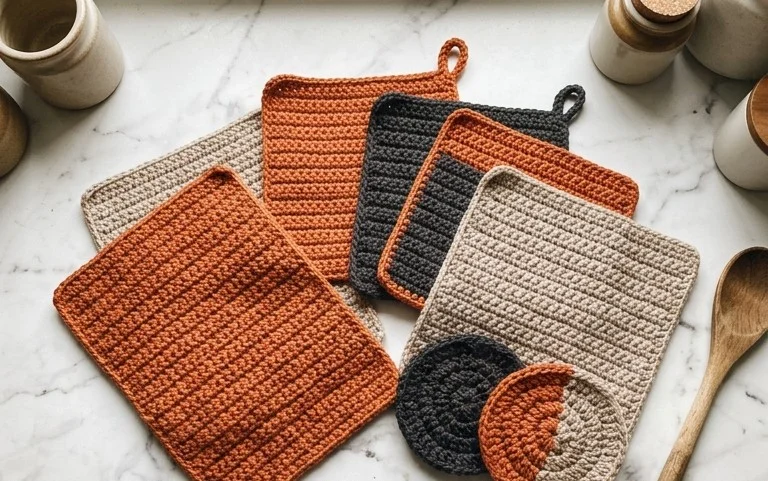
A rustic cotton cloth scrubby sitting on your kitchen counter adds an immediate sense of handmade warmth to any room. These small accessories possess a tight, sturdy texture that holds up well against daily scrubbing and frequent washing. Beginners will find this a peaceful project to hone their skills in working stitches within a continuous spiral, which removes the need to constantly join rounds or manage visible seams. Because the construction remains straightforward, you can comfortably finish a set while catching up on your favorite weekend show. You will learn to manipulate basic yarn overs to build body and height, resulting in a functional item that turns a simple household chore into a moment of tactile comfort.
Why This Project Is Worth Making
This project is an ideal way to practice working in a continuous spiral while creating a functional, charming item. You will enjoy the meditative nature of basic single crochet stitches, which make this a relaxing rhythmic project that does not require constant focus on complex patterns. Because the piece is worked in one continuous piece, there is minimal finishing work required, allowing you to move quickly from hook to completion. The size is compact, which means it uses a small amount of yarn, making it a perfect candidate for using up leftover balls from your stash.
I finished this in a single afternoon while watching a movie. The instructions were very easy to follow and the finished piece looks exactly like the photos.
— Sarah, hobbyist crocheter
Pattern Overview & Skill Level
- Skill Level: Beginner
- Approximate Time: 2 to 3 hours
- Construction: Worked in continuous rounds from the base upward, using single crochet stitches and increases to shape the body.
- Finished Dimensions: 4 inches tall by 3 inches wide.
Materials & Supplies Needed
- Yarn: Worsted weight (#4) cotton yarn. Approximately 40 yards.
- Hook Size: 4.0 mm (US G-6).
- Notions: Tapestry needle, stitch marker, fiberfill stuffing, and scissors.
- Yarn Substitutions: Acrylic worsted weight yarn can be used for a softer feel. Using a wool-blend will result in a slightly more structured finish. Note that changing fiber content may slightly alter the final size.
Stitch Guide & Abbreviations (US Terms)
- MR: Magic Ring.
- ch: chain.
- sc: single crochet.
- inc: 2 single crochet in the same stitch (increase).
- dec: sc2tog (single crochet 2 stitches together to decrease).
- sl st: slip stitch.
- BLO: back loop only.
- st(s): stitch(es).
Step-by-Step Pattern Instructions
Body
- Rnd 1: 6 sc into a magic ring (6 sts).
- Rnd 2: inc in each st around (12 sts).
- Rnd 3: [1 sc, inc] 6 times (18 sts).
- Rnd 4: [2 sc, inc] 6 times (24 sts).
- Rnd 5: BLO 24 sc (24 sts).
- Rnd 6-12: sc in each st around (24 sts).
- Rnd 13: [2 sc, dec] 6 times (18 sts).
- Rnd 14: [1 sc, dec] 6 times (12 sts).
Finishing
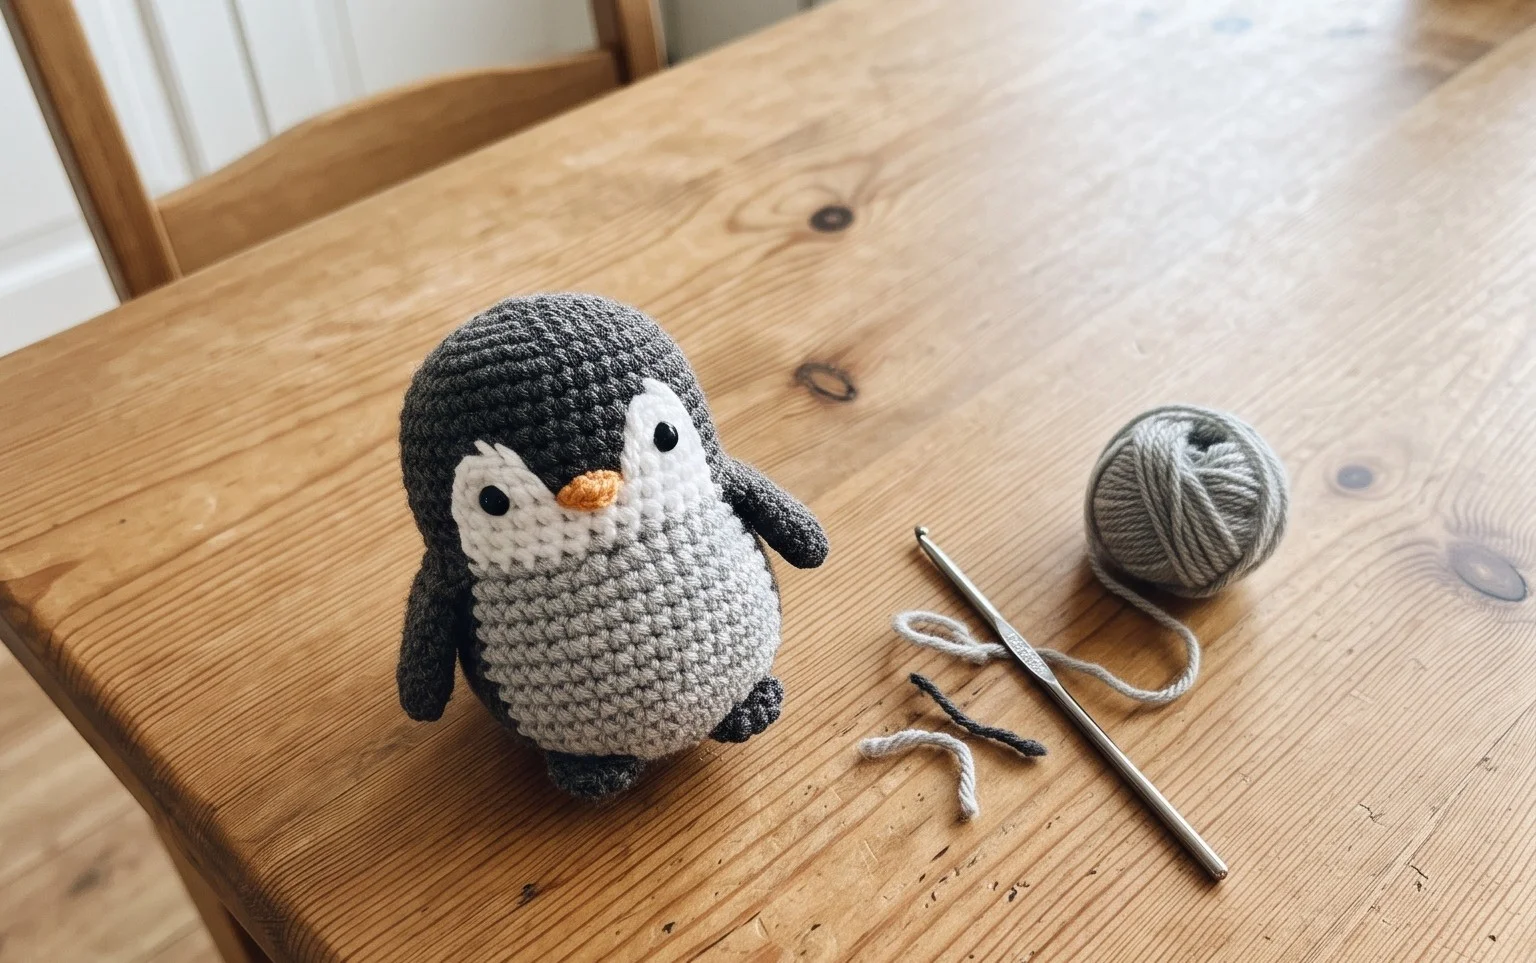
Stuff the piece firmly with fiberfill before closing the opening. To finish, use a tapestry needle to weave the yarn tail through the front loops of the remaining 12 stitches. Pull tight to close the hole securely and knot the yarn on the inside. Trim the excess tail.
Care & Washing Instructions
- Hand wash in cool water using a mild detergent to prevent damage to the fiberfill stuffing.
- Lay the piece flat on a towel to air dry, ensuring it is reshaped to its original proportions before it dries completely.
- Avoid using a tumble dryer or bleach, as these can distort the shape or weaken the yarn fibers.
Pro Tips & Common Mistakes to Avoid
Maintain consistent tension throughout the project to ensure the stuffing does not show through the gaps between stitches. Always place a stitch marker in the first stitch of every round to keep track of your position, as continuous rounds can become difficult to read without a reference point. When weaving in your ends, run the needle under the stitches on the inside of the piece for at least one inch to prevent the tail from loosening over time. If you wish to make the item larger, use a heavier weight yarn and a correspondingly larger hook, keeping in mind that this will increase the total yardage required to complete the project.
Frequently Asked Questions
Can I use a different yarn weight for this pattern?
Yes, but you must adjust your hook size to match the yarn weight. A thinner yarn will result in a smaller final piece, while a thicker yarn will make it larger.
Is this pattern suitable for someone who has never crocheted before?
Yes, this is an excellent starter project. It focuses on the single crochet stitch and teaches you how to work in the round, which is the foundation for most amigurumi patterns.
How do I know if I have stuffed it enough?
The piece should feel firm to the touch and hold its shape without bulging significantly between the stitches. If you can easily compress the piece, add a little more stuffing.
Am I allowed to sell the finished items made from this pattern?
You are welcome to sell finished items created from this pattern. Please credit the original design when listing your handmade goods online or at markets.
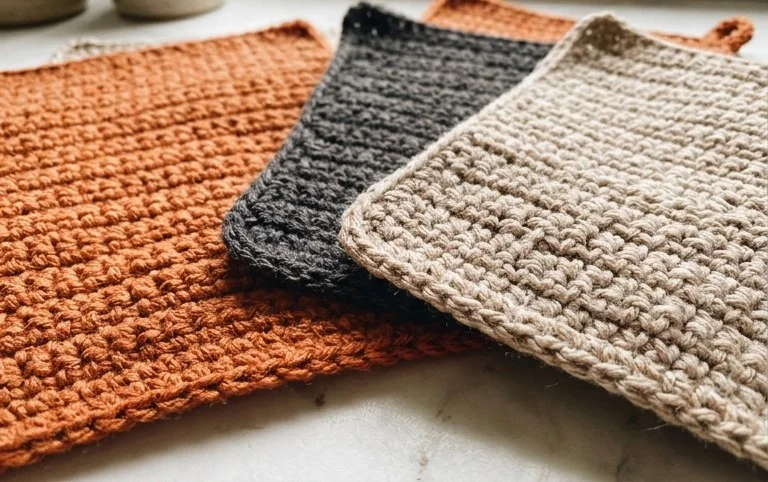
Your new handmade kitchen set creates a clean, classic look in any home space. Experiment with two-toned stripes using leftover scrap yarn if you want to add a bit of contrast to your counter. Once you finish your set, please upload a photo to social media so others can see your color choices. Browse our full archive of free patterns to find your next afternoon craft project once you finish these simple pieces.