Easy Ribbed Crochet Beanie Pattern: Step-by-Step Guide
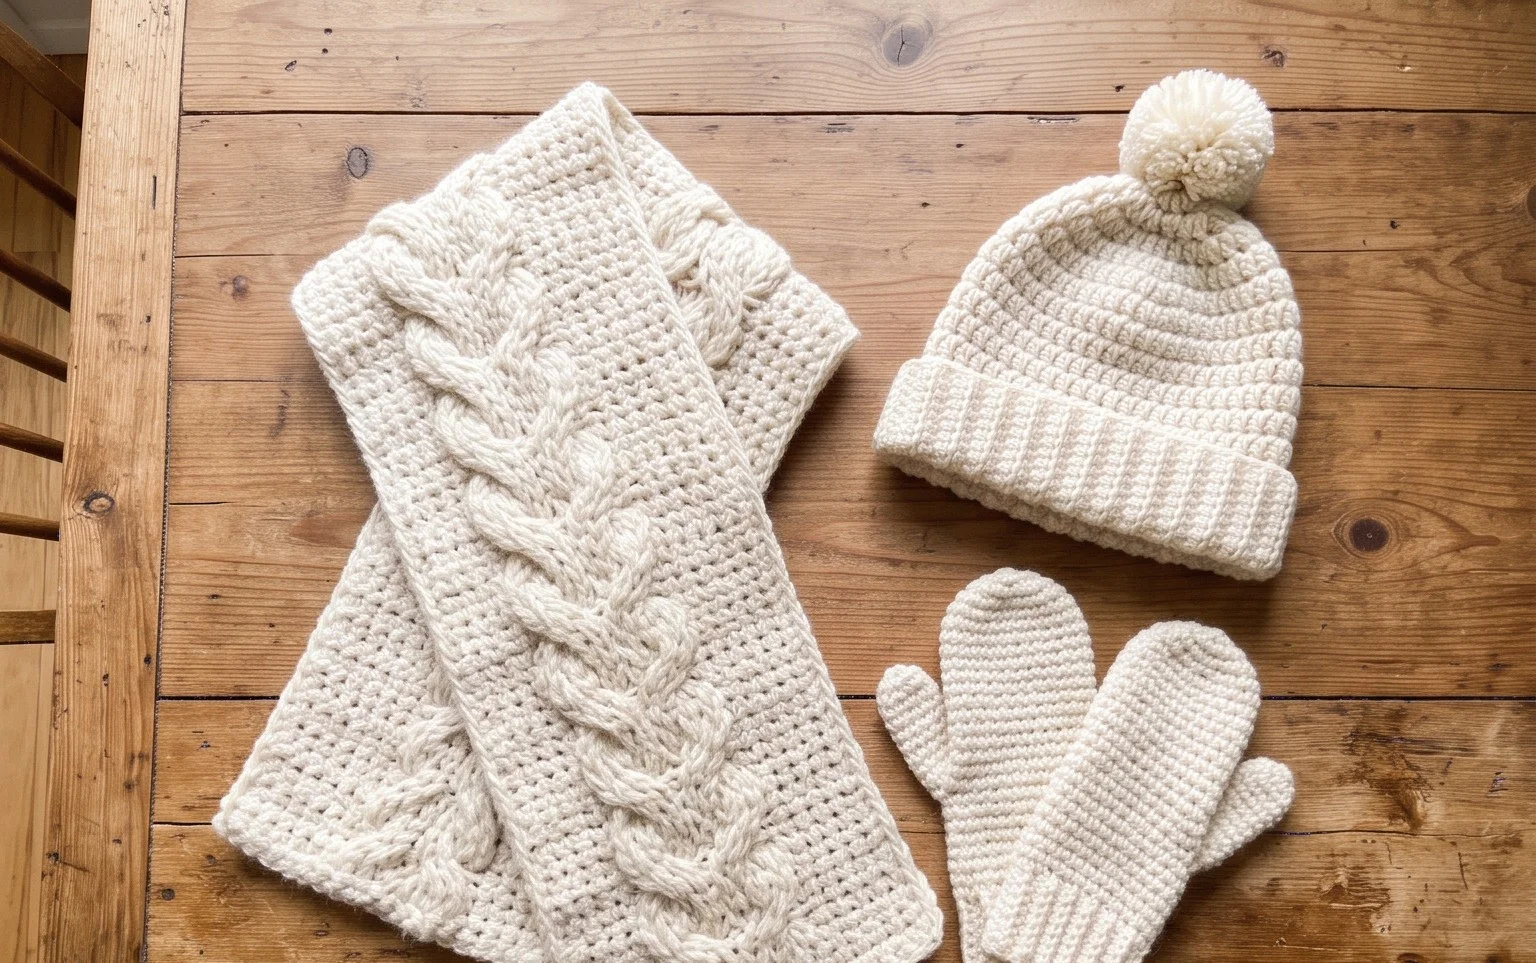
This ribbed beanie captures the timeless aesthetic of hand-knit winter accessories while relying on the straightforward mechanics of crochet. The finished fabric feels dense and cozy against the skin, providing just enough structure to hold its shape during long winter commutes. Beginners find this project particularly satisfying because it removes the intimidation of complex shaping, allowing makers to focus entirely on maintaining even tension. By mastering the half-double crochet stitch worked through the back loop, you create a distinct, stretchy ribbed texture that looks professional every single time. It remains a reliable staple for gifting or personal use, transforming a single skein of yarn into a warm, reliable winter accessory you will reach for constantly.
Why You’ll Love This Pattern
This crochet ribbed beanie pattern relies on a simple rectangle construction, making it an excellent choice for those who want a professional-looking accessory without complex shaping. You work the fabric flat in rows, creating a thick, stretchy ribbed texture that mimics the look of high-end knitwear. Because it uses a basic half-double crochet stitch worked through the back loop, the process is rhythmic and easy to memorize for television or travel stitching. The project also functions as a stash-buster, as it requires less than one full skein of standard worsted weight yarn.
I finished this hat in two evenings while watching movies. The ribbing is incredibly stretchy and fits perfectly without feeling too tight against my forehead.
— Sarah, intermediate crafter
Pattern Overview & Skill Level
- Skill Level: Beginner
- Approximate Time: 3 to 5 hours
- Construction: Flat panel worked in rows, seamed to create a cylinder, then gathered at the crown
- Finished Dimensions & Sizing: Fits average adult head (20-22 inches circumference); 9 inches tall when folded
Materials & Supplies Needed
- Yarn: Worsted weight (#4) acrylic or wool blend, approximately 200 yards. Solid colors show off the texture best.
- Hook Size: 5.0 mm (US H-8)
- Notions: Tapestry needle for seaming and weaving ends, locking stitch markers, and a tape measure.
- Safe yarn substitutions: You may use cotton blends, though they provide less “spring” and warmth than wool or acrylic. If using a thinner sport weight yarn, increase your starting chain length by 15% and use a 4.0 mm hook to maintain fabric density.
Stitch Guide & Abbreviations (US Terms)
- ch: Chain
- hdc: Half double crochet
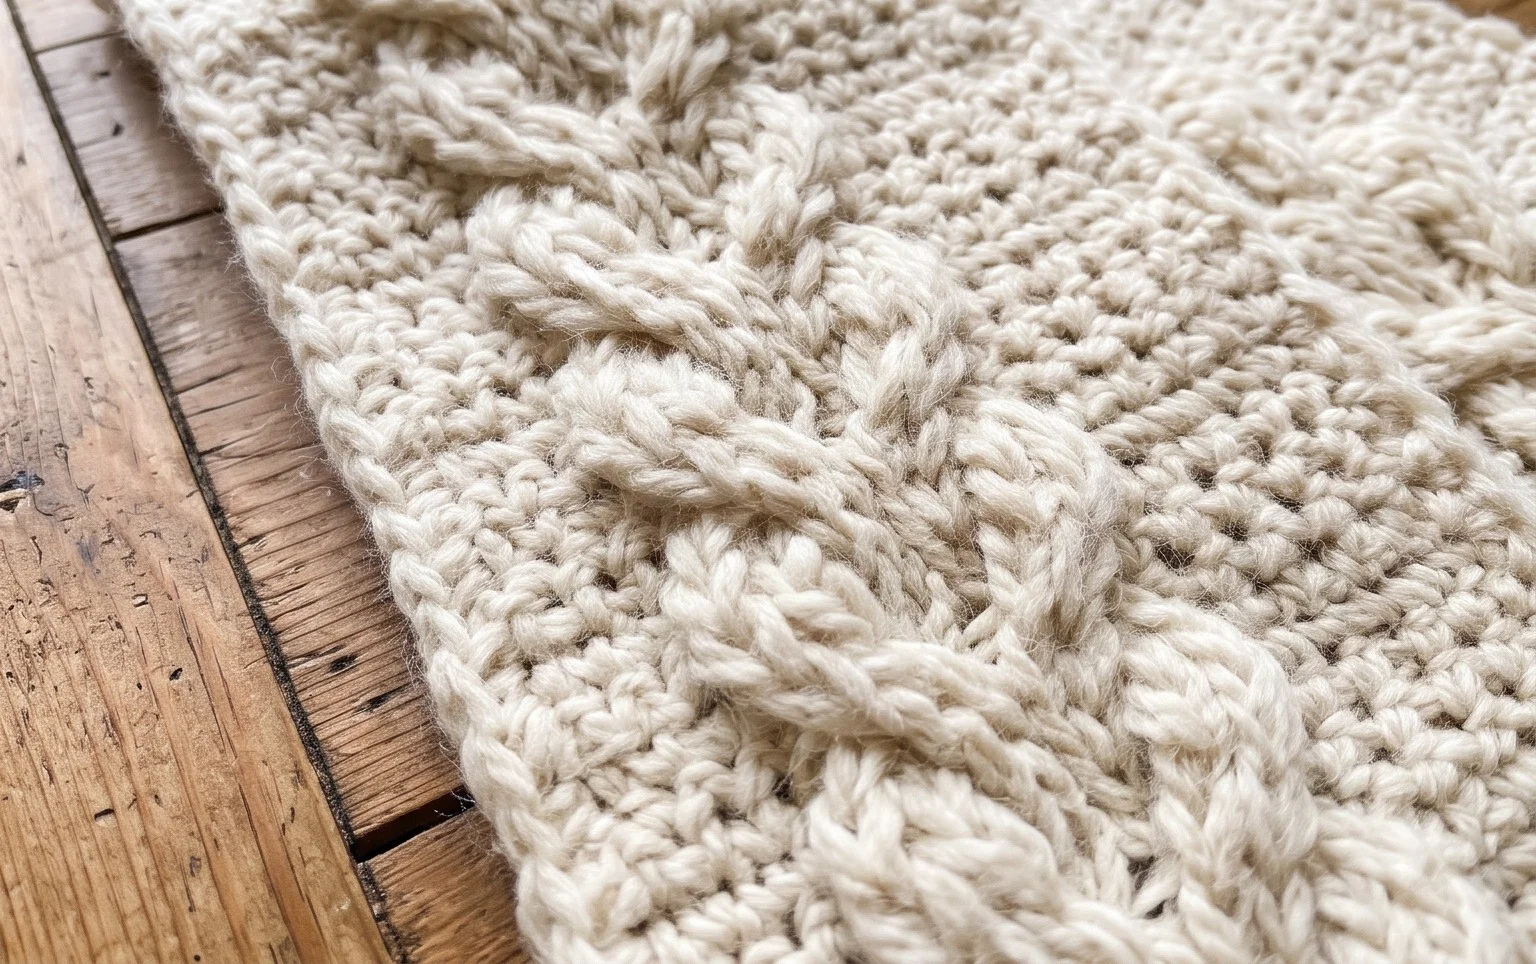
- BLO: Back loop only (inserting the hook under only the back strand of the stitch)
- sl st: Slip stitch
- st/sts: Stitch/stitches
Step-by-Step Pattern Instructions
Main Body Panel
- Row 1: Ch 46. Work 1 hdc in the 3rd ch from the hook and in each ch across. Turn. (44 sts)
- Row 2: Ch 2 (does not count as a stitch), work 1 hdc in BLO of each st across. Turn. (44 sts)
- Rows 3-60: Repeat Row 2 until the piece measures approximately 20 inches wide when slightly stretched. Do not fasten off after the final row.
Finishing and Assembly
- Seaming: Fold the rectangle in half, bringing the short ends together. Sl st through the BLO of the last row and the starting chain edge to join the tube.
- Gathering the Crown: Fasten off, leaving a 12-inch yarn tail. Thread this tail onto your tapestry needle. Weave the yarn in and out of the ends of every other row along the top edge of the tube. Pull the tail tight to close the circle completely.
- Securing: Secure the gather with a knot on the inside of the hat. Weave in all remaining ends firmly to prevent unraveling during washing.
Care & Washing Instructions
- Machine wash on a gentle cycle in cool water (30C) using a mild detergent.
- Avoid wringing the fabric; instead, lay the beanie flat on a towel to air dry away from direct sunlight.
- Do not iron, as direct heat can flatten the ribbed texture and damage synthetic fibers.
Pro Tips & Common Mistakes to Avoid
- Maintain consistent tension by keeping your yarn flow steady. If the bottom edge of your hat flares out, you are likely gripping your hook too tightly on the foundation chain.
- Use a stitch marker on the first stitch of every row to ensure you do not accidentally skip the final stitch, which causes the edges to become uneven.
- Weave your yarn tails in both directions—horizontally and then vertically—to lock the stitches in place, ensuring the seam remains invisible and secure.
- To adjust for a larger or smaller head circumference, simply add or subtract rows in increments of two. Keep in mind that adding rows will increase the amount of yarn required for the project.
Frequently Asked Questions
Can I substitute the worsted weight yarn for a chunky weight?
Yes, but you will need to reduce your starting chain count by approximately 20% to account for the increased thickness of the yarn. Always check your gauge before committing to the full length.
Is this pattern suitable for complete beginners?
This pattern is highly beginner-friendly because it uses only one basic stitch and requires no increases or decreases. If you can chain and half-double crochet, you can complete this project.
How do I make the beanie slouchy instead of fitted?
To create a slouchy fit, increase the starting chain length from 46 to 55 stitches. This adds extra length to the body, allowing the fabric to drape over the back of the head.
May I sell the hats I make from this pattern?
You are welcome to sell finished items made from this design. Please credit the pattern designer in your online listings or tags to support continued free design work.
Wrapping your finished hat around a cold day is the best reward for those hours of rhythmic stitching. You can customize this project by adding a faux fur pom-pom to the crown or alternating yarn colors every four rows for a bold, striped effect. Sharing your work helps others find inspiration for their own handmade collections, so consider posting a photo to your favorite crafting board. Feel free to browse our blog archives for additional projects that use similar techniques to build your skills further. Enjoy every warm stitch of this winter essential.