Easy Granny Square Crochet: Materials and Beginner Guide
Soft wool against your fingers makes the rhythmic motion of hooking loops into squares one of the most relaxing ways to spend an afternoon. This classic motif results in a sturdy, geometric fabric that feels substantial enough for a warm blanket yet light enough for a decorative cushion cover. Whether you are a curious beginner picking up a hook for the first time or a long-time maker seeking a portable project for quiet moments, these simple squares offer a clean, repetitive flow. You will discover exactly how to select the right weight yarn and equipment for consistent, professional-looking stitches.
Why You’ll Love This Pattern
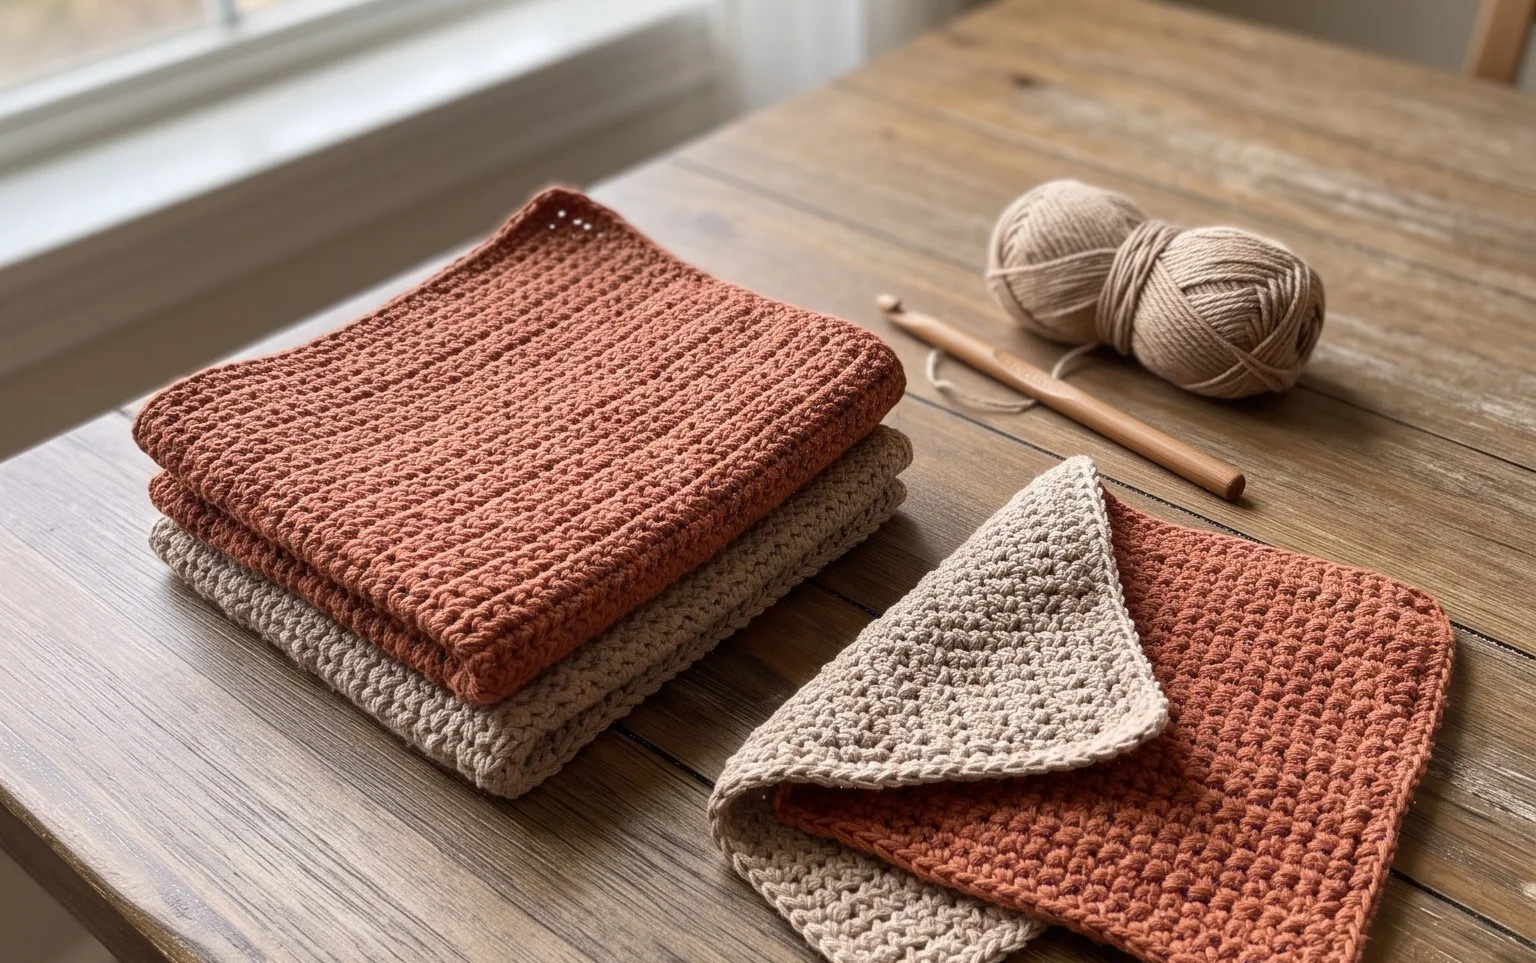
The Classic Crochet Granny Square is the quintessential building block of crochet, relying on simple clusters of stitches that create an airy, geometric fabric. You will enjoy how quickly the rounds grow, making this an ideal project for practicing consistent tension without the pressure of complex counting. It works perfectly for using up leftover yarn from larger projects, as you can change colors every round to create a unique scrap-yarn stash buster. Because the pattern relies on a repeating sequence, it becomes meditative once you finish the first two rounds, allowing you to crochet while listening to music or watching a show.
I struggled with keeping my edges straight on other projects, but this granny square pattern is so logical that I finally feel confident in my counting skills. It is the perfect weekend project.
— Sarah, beginner crocheter
Pattern Overview & Skill Level
- Skill Level: Beginner
- Approximate Time: 30 to 45 minutes per square
- Construction: Worked in joined rounds, starting from the center and expanding outward
- Finished Dimensions & Sizing: Approximately 5 inches by 5 inches using medium weight yarn
Materials & Supplies Needed
- Yarn: Worsted weight (#4), 100% acrylic or wool blend, approximately 15 yards per square
- Hook Size: 5.0 mm (US H-8)
- Notions needed: Tapestry needle for weaving in ends and a pair of sharp scissors
- Safe yarn substitutions: You can use DK weight yarn for a smaller, tighter square, or bulky weight yarn for a larger square. Note that changing yarn weight will alter your finished size and require a hook size adjustment to match your gauge.
Stitch Guide & Abbreviations (US Terms)
- ch = chain
- st/sts = stitch/stitches
- sl st = slip stitch
- dc = double crochet
- dc-cluster = a group of 3 dc stitches worked into the same space
- sp = space (the gap created by ch-1 or ch-2)
Step-by-Step Pattern Instructions
Granny Square Base
- Rnd 1: Start with a magic ring or ch 4 and sl st to the first ch to form a ring. Ch 3 (counts as first dc), work 2 dc into the ring, ch 2, 3 dc into the ring, ch 2 — repeat from * to * two more times. Sl st to the top of the starting ch-3. (12 dc, 4 ch-2 spaces)
- Rnd 2: Sl st into the next 2 sts and into the first ch-2 corner space. Ch 3, 2 dc in same space, ch 2, 3 dc in same corner space. Ch 1, skip 3 dc, (3 dc, ch 2, 3 dc) in next ch-2 corner space — repeat from * to * two more times. Ch 1, sl st to the top of the starting ch-3. (24 dc, 4 corner ch-2 spaces, 4 side ch-1 spaces)
- Rnd 3: Sl st into the next 2 sts and into the first corner space. Ch 3, 2 dc in same space, ch 2, 3 dc in same corner space. Ch 1, 3 dc in the next side ch-1 space, ch 1, (3 dc, ch 2, 3 dc) in next corner space — repeat from * to * two more times. Ch 1, 3 dc in the final side ch-1 space, ch 1, sl st to the top of the starting ch-3. (36 dc, 4 corner ch-2 spaces, 8 side ch-1 spaces)
- Rnd 4: Continue the established pattern. Work (3 dc, ch 2, 3 dc) in every corner space and 3 dc in every side ch-1 space, separating all clusters with a ch 1. (48 dc, 4 corner ch-2 spaces, 12 side ch-1 spaces)
Finishing
Fasten off your yarn by cutting a 6-inch tail and pulling it through the final loop. Use a tapestry needle to weave the tail through the back of the stitches, traveling in multiple directions to ensure the end remains secure. If you plan to join multiple squares, leaving a longer tail can be helpful for assembly later.
Care & Washing Instructions
- Machine wash your finished squares on a gentle cycle in cold water using a mild detergent.
- Lay the squares flat on a clean towel to air dry, reshaping them gently with your hands while damp.
- If the corners look curled, steam block the squares lightly by holding a garment steamer a few inches above the surface.
Pro Tips & Common Mistakes to Avoid
Maintaining consistent tension is the most important factor in keeping your square flat. If your square is curling into a bowl shape, your tension is likely too tight; if it is ruffled, your tension is too loose. Always use a stitch marker in the first stitch of every round to ensure you do not skip the sl st joining point, which is a frequent error for beginners. Weaving in your ends as you go prevents a massive project at the end and keeps your work tidy. If you wish to adjust the size, simply add more rounds following the pattern logic of placing cluster sets in the corners and single clusters in the side spaces, but be aware this will consume significantly more yarn.
Frequently Asked Questions
Can I use cotton yarn instead of acrylic for these squares?
Yes, cotton works very well for granny squares and provides excellent stitch definition. Keep in mind that cotton has less stretch than acrylic, so you may need to ensure your tension remains relaxed to prevent the square from becoming too stiff.
Is this pattern suitable for making a full blanket?
Absolutely, these squares are designed to be joined together. You can make as many as you need and join them using a whip stitch or a single crochet seam to create a blanket of any size.
Why do my corners look rounded instead of square?
Rounded corners usually occur if you are not placing enough stitches in the corner space. Ensure you are working the full (3 dc, ch 2, 3 dc) sequence in every corner gap to maintain the 90-degree angle.
Am I allowed to sell items made from this pattern?
You are welcome to sell finished items created with this pattern. Please provide credit to the designer whenever possible, but do not reproduce or sell the written pattern text itself.
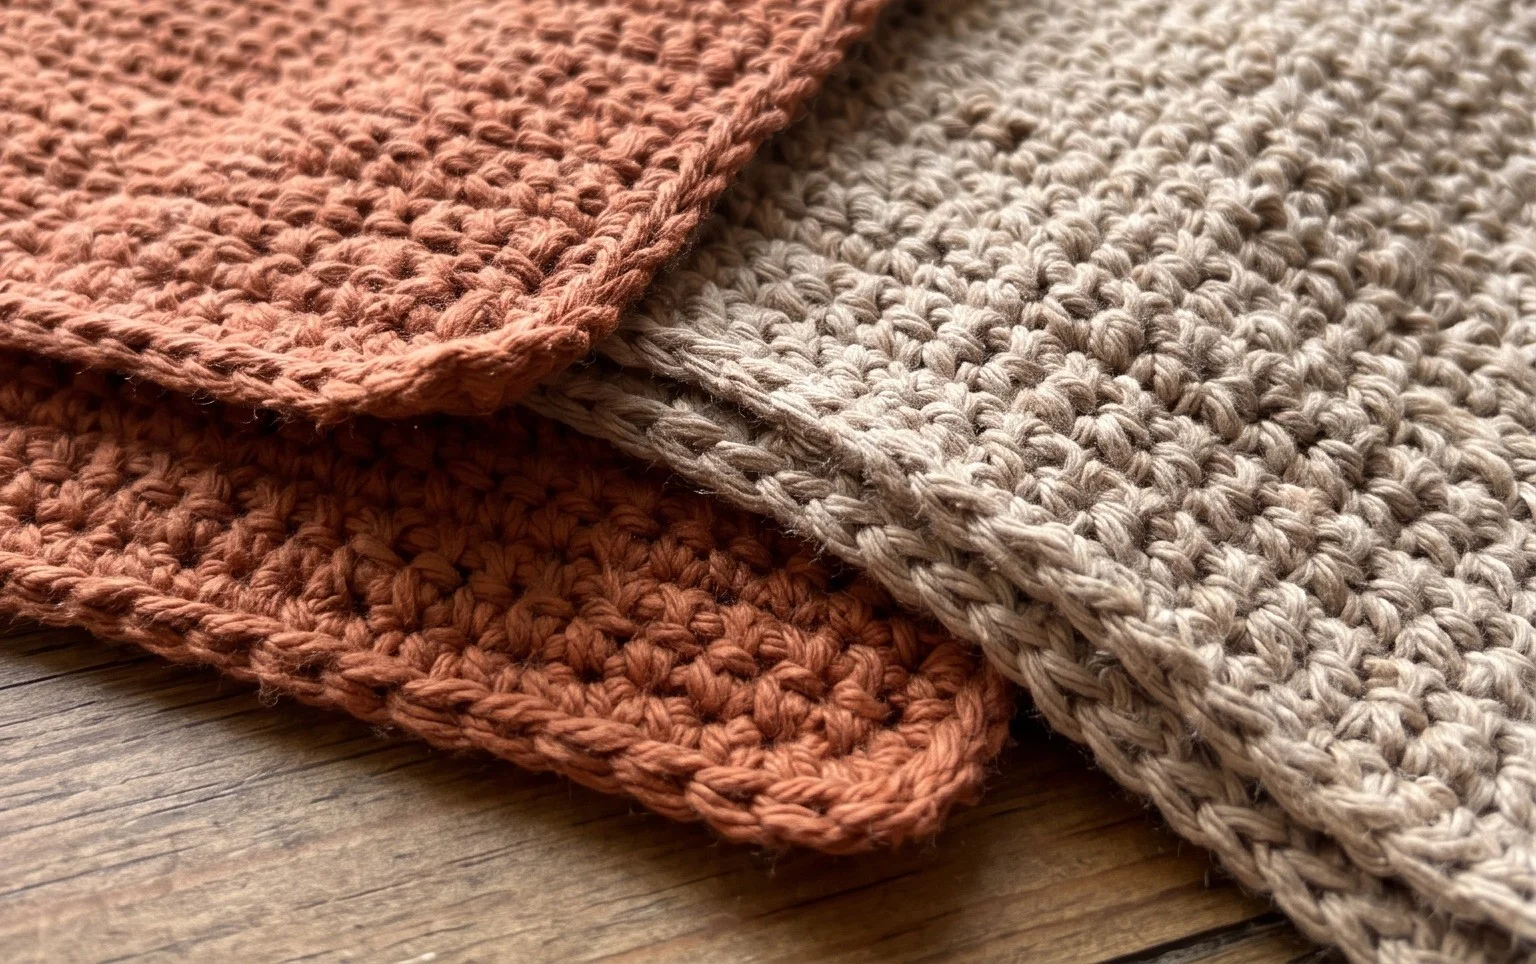
Seeing your stack of finished squares grow is incredibly satisfying, especially when you consider how many color combinations you can invent using just a few scrap balls of wool. Try using a variegated yarn for your next batch to see how the shifting colors change the look of each round entirely. Once you join these squares into a final project, post a photo of your work on Instagram so others can see your color choices. Browse the rest of the blog for more free patterns to build your collection.