Easy Slouchy Hat Crochet Pattern for Beginners
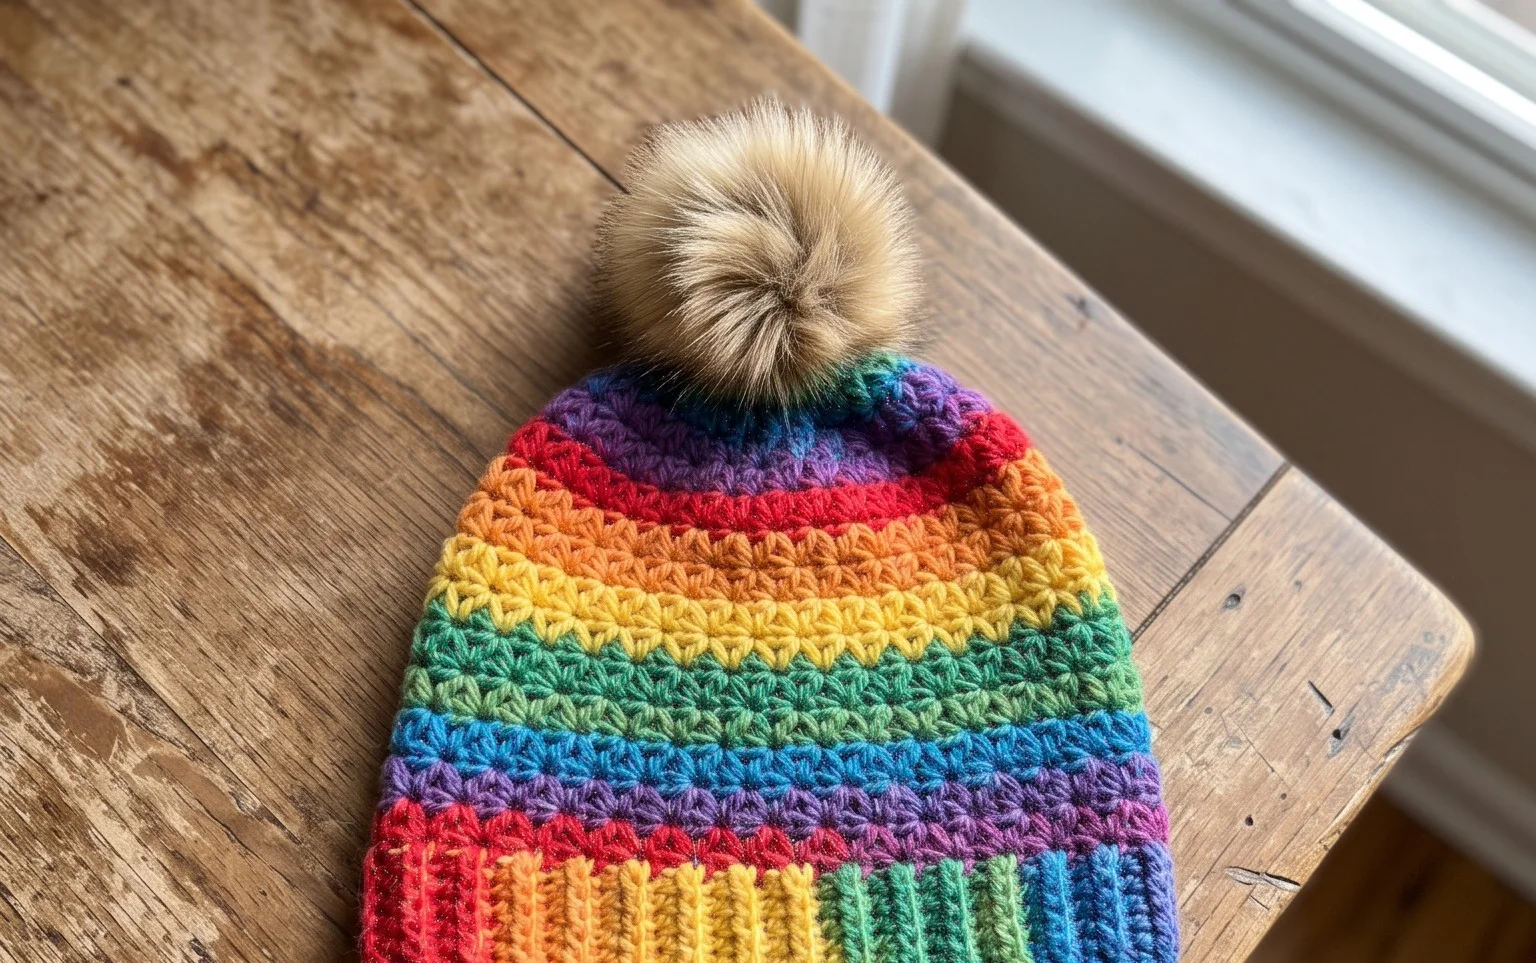
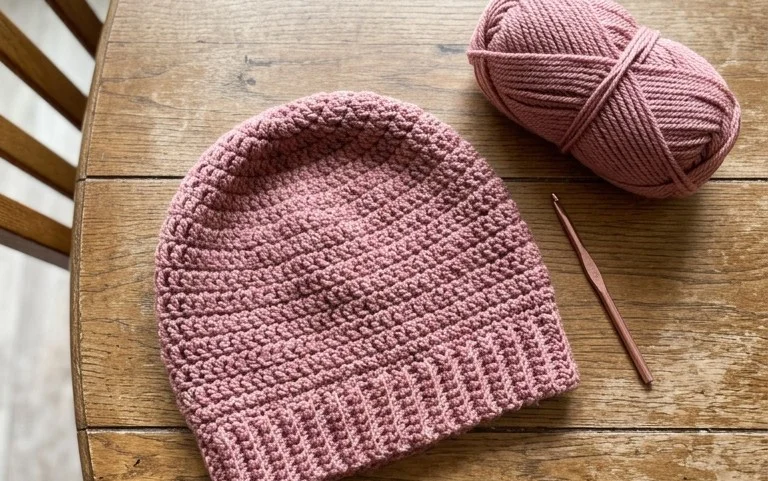
Soft cotton yarn gathers around the head in deep, relaxed folds, providing a comfortable drape that stays put throughout the day. This simple accessory suits anyone learning to manage tension because it relies on repetitive double crochet stitches that grow quickly. Making your own headwear brings a sense of accomplishment, especially when you finish a piece in just a few hours. You will learn how to transition from the crown to the body without visible seams. This project remains a favorite for makers who appreciate clean lines and a relaxed fit that pairs well with any casual outfit.
Why You’ll Love This Pattern
The Classic Crochet Bucket Hat is a project that balances utility with style. It works up in a matter of hours, making it an ideal weekend afternoon activity. The pattern relies on simple double crochet stitches, which provide enough density to hold the hat’s shape while remaining breathable for warm weather. Because it uses standard worsted weight yarn, you can easily pull from your existing stash to create a striped or solid-colored accessory without needing a dedicated trip to the craft store.
I finished this hat in one sitting and it fits perfectly without being too tight or too loose. The brim has just the right amount of structure to stay down instead of curling up.
— Sarah, casual crocheter
Pattern Overview & Skill Level
- Skill Level: Advanced Beginner
- Approximate Time: 3 to 4 hours
- Construction: Worked in continuous rounds from the crown down to the brim
- Finished Dimensions: Fits an average adult head size of 21 to 23 inches in circumference
Materials & Supplies Needed
- Yarn: Worsted weight (#4), 100% cotton, approximately 180 yards. Cotton provides the necessary structure and absorbency for headwear.
- Hook Size: 5.0 mm (H-8) crochet hook.
- Notions: Tapestry needle for weaving in ends, a stitch marker to keep track of round starts, and a pair of scissors.
- Safe Yarn Substitutions: Acrylic yarn can be used for a softer, more affordable hat, though it will have less stiffness in the brim than cotton. Avoid bulky wools as they will result in a heavy, oversized hat that loses its shape.
Stitch Guide & Abbreviations (US Terms)
- ch = chain
- st(s) = stitch(es)
- sl st = slip stitch
- sc = single crochet
- dc = double crochet
- inc = increase (work 2 dc in the same stitch)
- MR = magic ring
- BLO = back loop only: work the stitch into the loop furthest away from you.
Crochet Hat Crown
The crown of the hat is worked in continuous rounds. Place a stitch marker in the first stitch of every round to keep your place.
- Rnd 1: Start with a MR, work 10 dc into the ring. Join with a sl st to the first dc. (10 sts)
- Rnd 2: Ch 2, 2 dc in each st around. Join with a sl st. (20 sts)
- Rnd 3: Ch 2, *1 dc in next st, 2 dc in next st; repeat from * around. Join with a sl st. (30 sts)
- Rnd 4: Ch 2, *1 dc in next 2 sts, 2 dc in next st; repeat from * around. Join with a sl st. (40 sts)
- Rnd 5: Ch 2, *1 dc in next 3 sts, 2 dc in next st; repeat from * around. Join with a sl st. (50 sts)
- Rnd 6: Ch 2, *1 dc in next 4 sts, 2 dc in next st; repeat from * around. Join with a sl st. (60 sts)
Hat Sides
Once the crown is complete, you will transition to the sides. You will no longer increase, which allows the hat to grow downward toward the ears.
- Rnd 7: Ch 2, dc in each st around, working in the BLO for this round only to create a crisp edge. Join with a sl st. (60 sts)
- Rnds 8-15: Ch 2, dc in each st around. Join with a sl st. (60 sts)
Brim
The brim adds the signature silhouette of a bucket hat. Increasing every few stitches forces the fabric to flare out.
- Rnd 16: Ch 1, *1 sc in next 5 sts, 2 sc in next st; repeat from * around. Join with a sl st. (70 sts)
- Rnd 17: Ch 1, *1 sc in next 6 sts, 2 sc in next st; repeat from * around. Join with a sl st. (80 sts)
- Rnd 18: Ch 1, sc in each st around. Join with a sl st, fasten off, and weave in your ends. (80 sts)
Care & Washing Instructions
- Hand wash the hat in cool water with a gentle detergent to maintain the fiber integrity.
- Lay the hat flat on a clean towel and reshape it to its original form while damp.
- Avoid wringing or twisting the hat as this can distort the stitches and cause the brim to lose its shape.
Pro Tips & Common Mistakes to Avoid
- Maintain consistent tension throughout the project; if your hands get tired, take a break so your stitches do not get progressively looser or tighter.
- Always use a stitch marker at the beginning of your rounds to avoid losing track of your stitch count, especially during the increase rounds for the crown.
- Weave in your yarn tails by running the needle through the back loops of the stitches on the interior of the hat to keep the finish looking professional and invisible.
- To adjust the size, add or subtract one round of increases on the crown; adding a round will make the hat diameter larger and require roughly 10% more yarn.
Frequently Asked Questions
Can I use a different yarn weight for this pattern?
Using a different weight, such as DK or bulky, will drastically change the sizing and the stiffness of the brim. It is best to stick to a worsted weight cotton for the intended results.
How do I know if the hat will fit my head?
After Round 6, you can measure the diameter of the flat circle. For an average adult, the crown should measure approximately 7 inches across before you start working the sides.
Is this pattern suitable for someone who has never crocheted before?
While the stitches are basic, this pattern requires an understanding of working in rounds and identifying back loops. It is best suited for those who have mastered a basic granny square or flat rectangle first.
Am I allowed to sell hats made from this pattern?
Yes, you may sell finished items made from this pattern. Please credit the design back to this website if you choose to list them in an online shop or at craft fairs.
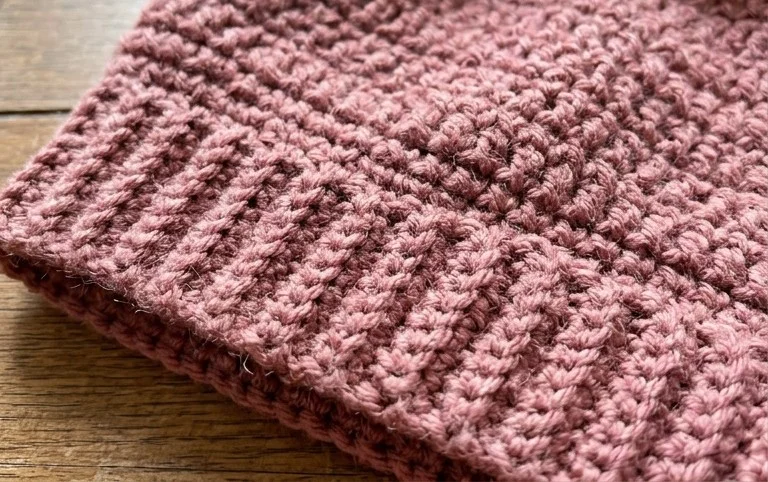
Holding your finished piece with its soft, slouchy shape gives a great sense of pride. You might try working this in a variegated wool blend to change the texture or adjusting your hook size to create a tighter stitch for colder weather. Take a quick photo of your work and share it on social media so others can see your progress. Feel free to browse our archives for more free patterns that use similar simple construction methods to build your growing collection of handmade accessories.