Easy DIY Mini Christmas Tree: Free Crochet Pattern
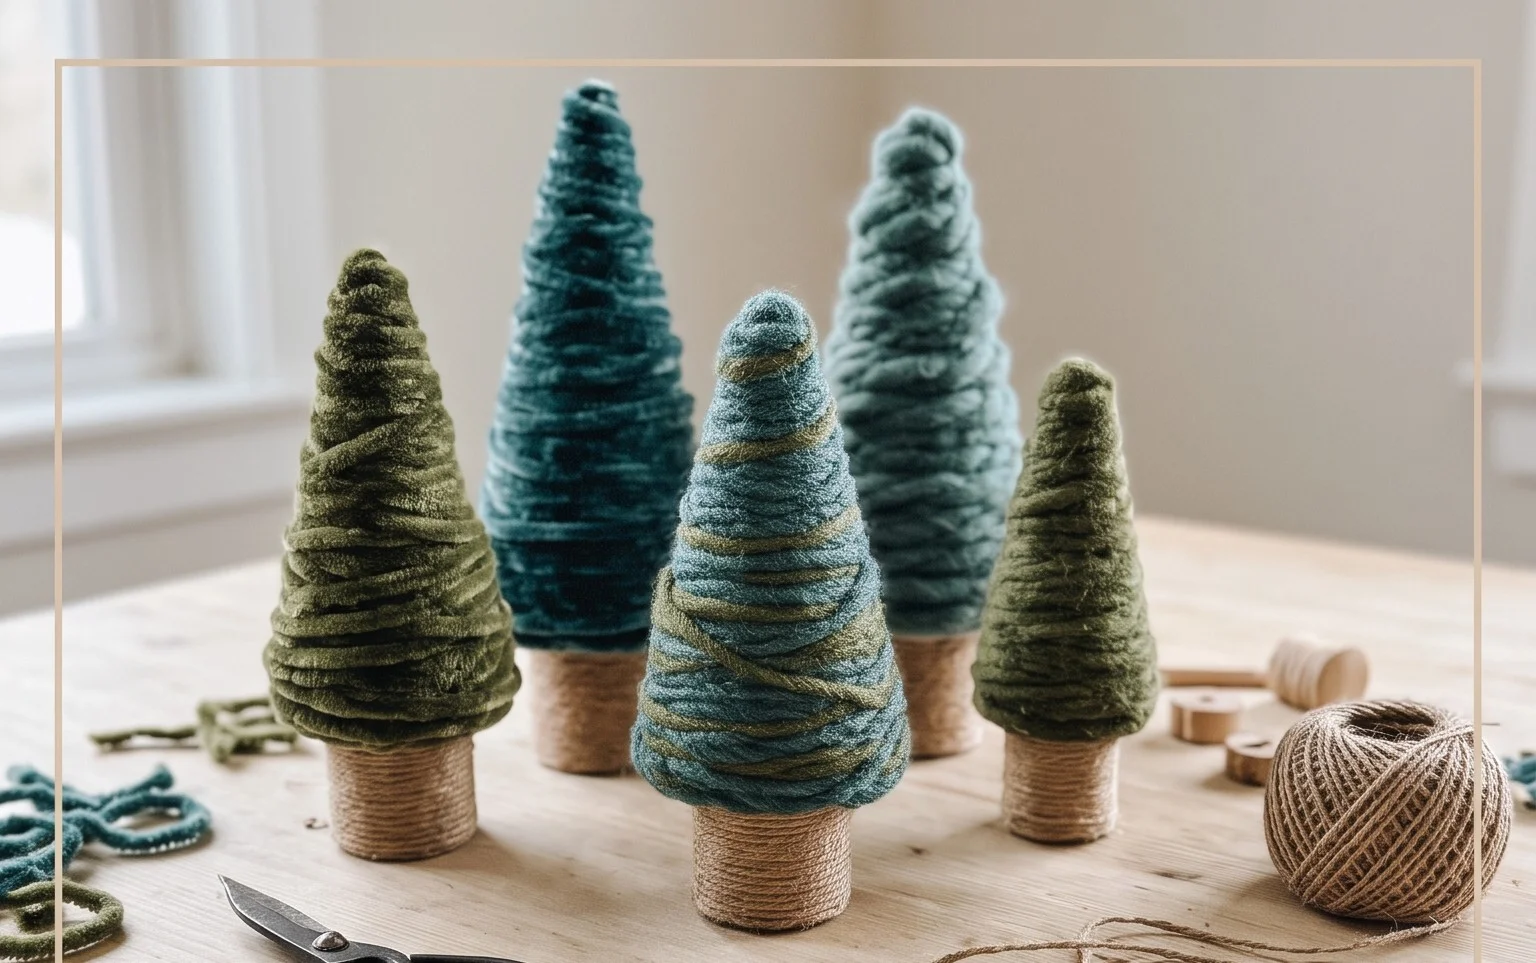
A tiny evergreen standing five inches tall on a bookshelf adds an immediate sense of warmth to any room during the winter months. This project results in a soft, cone-shaped sculpture that holds its structure well without needing heavy internal support. Beginners often find this pattern rewarding because it uses simple increases and decreases to build the conical shape quickly. You will practice working in a continuous spiral, which removes the need for visible seams or joining rounds. Making these ornaments is a great way to use up green yarn remnants while creating a festive piece for your home decor.
Why You’ll Love This Pattern
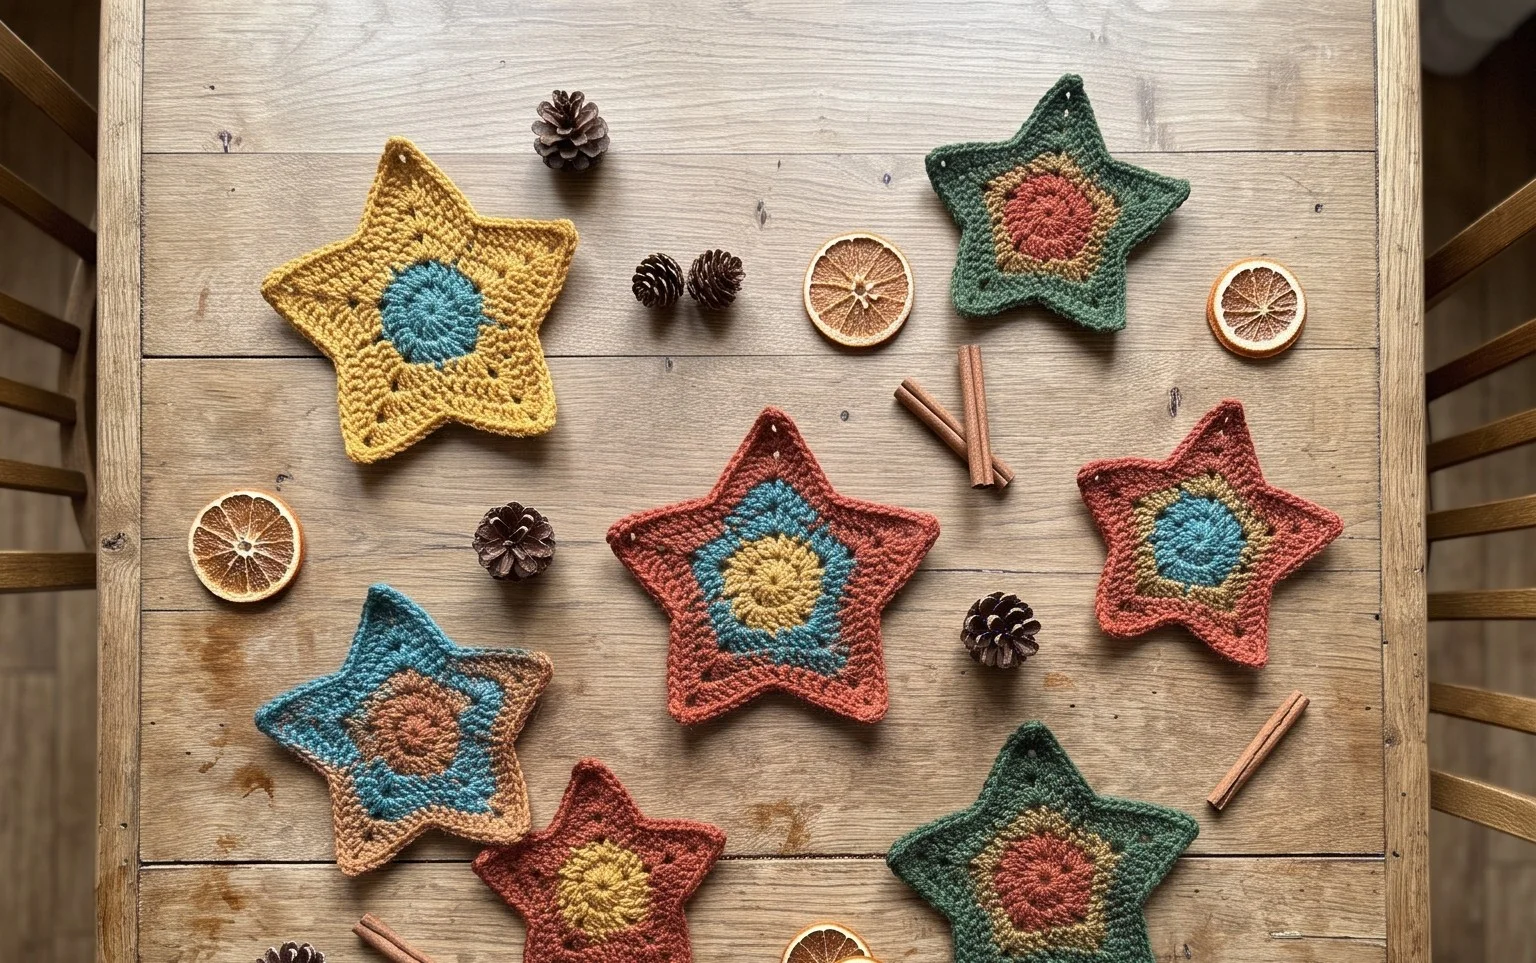
The Classic Crochet Granny Square is the foundation of countless heritage-style blankets, tote bags, and cardigans. This pattern relies on a simple three-double-crochet cluster sequence, making it easy to memorize even for those new to working in the round. You can complete a single square in under twenty minutes, allowing you to see quick progress during short crafting sessions. Because it uses small amounts of yarn for each round, it is the ideal project to clear out leftover scraps from your stash while creating a cohesive, colorful set of motifs.
I finally learned to keep my tension consistent thanks to this clear layout, and now I have a full stack of squares ready for my first afghan.
— Sarah, beginner crocheter
Pattern Overview & Skill Level
- Skill Level: Beginner
- Approximate Time: 15–20 minutes per square
- Construction: Worked in joined rounds, starting from the center and moving outward
- Finished Dimensions: 5 inches by 5 inches using medium weight yarn
Materials & Supplies Needed
- Yarn: Worsted weight (#4), 100% acrylic or wool blend, approximately 15 yards per square
- Hook Size: 5.0 mm (H-8)
- Notions: Tapestry needle for weaving in ends, sharp scissors
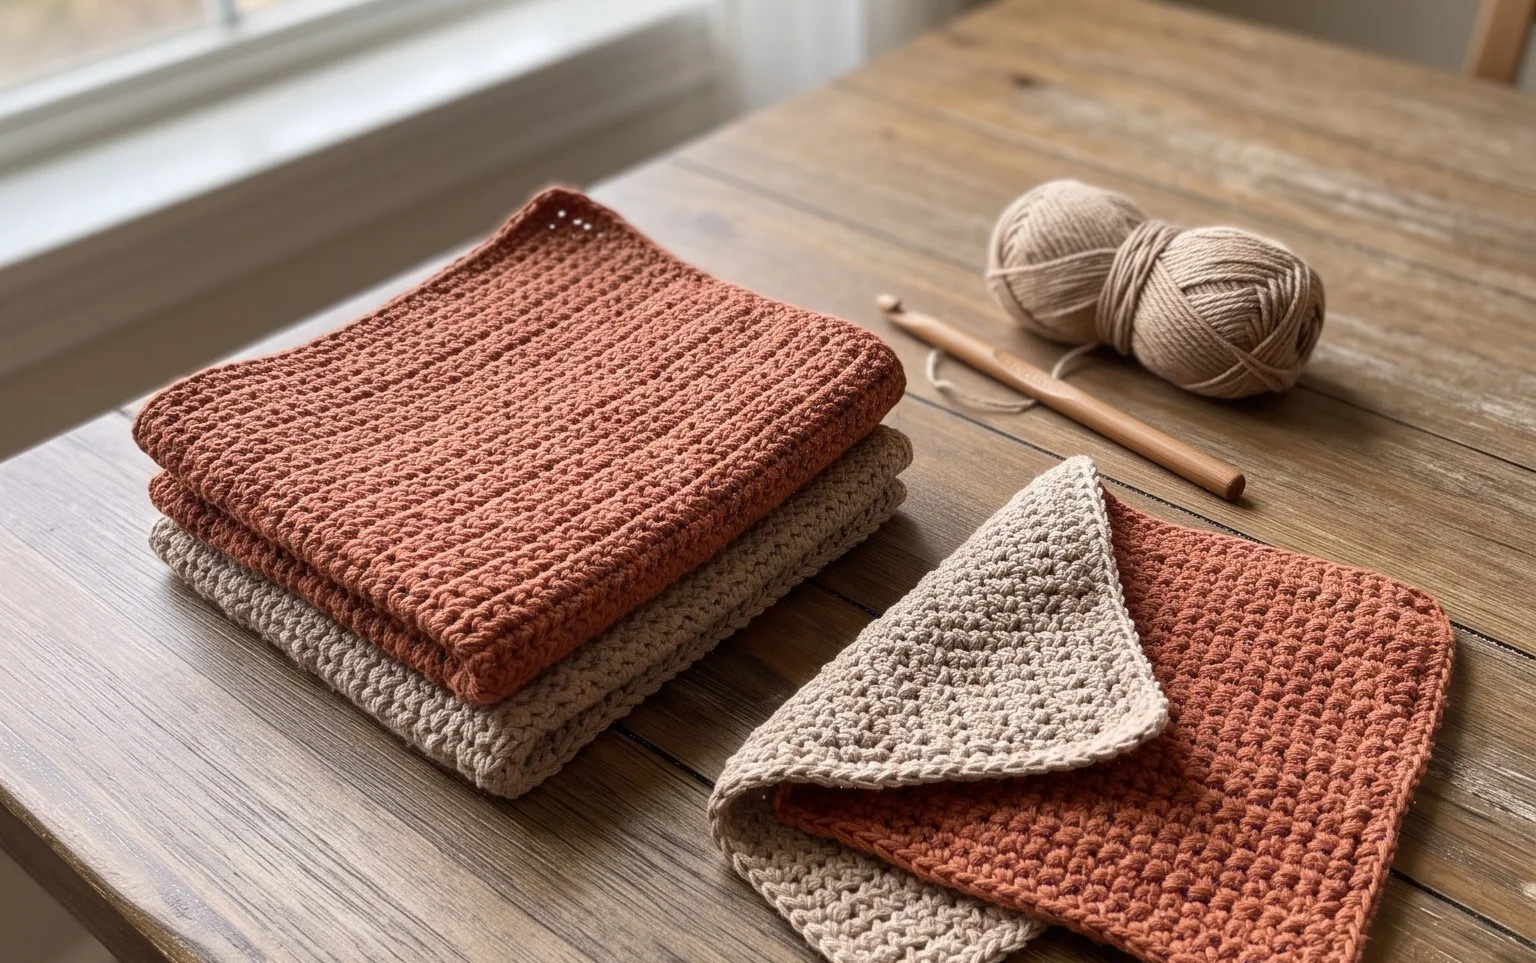
- Yarn substitutions: Cotton yarn of the same weight works well for dishcloths or coasters but will result in a slightly stiffer square; lighter weight yarns will require a smaller hook and result in a smaller finished size
Stitch Guide & Abbreviations (US Terms)
- ch = chain
- st = stitch
- sl st = slip stitch
- dc = double crochet
- cluster = a group of 3 dc stitches worked into the same space
- sp = space (the gap created by the ch-1 or ch-2 between clusters)
Step-by-Step Pattern Instructions
Granny Square Body
- Rnd 1: Ch 4, join with sl st to first ch to form a ring. Ch 3 (counts as dc here and throughout), 2 dc in ring, ch 2, (3 dc in ring, ch 2) 3 times. Join with sl st to top of beg ch-3. (12 dc, 4 ch-2 spaces)
- Rnd 2: Sl st into the first ch-2 corner space. Ch 3, 2 dc, ch 2, 3 dc in same corner space. Ch 1, *3 dc, ch 2, 3 dc in next ch-2 corner space, ch 1. Repeat from * 2 more times. Join with sl st to top of beg ch-3. (24 dc, 4 ch-2 spaces, 4 ch-1 spaces)
- Rnd 3: Sl st into the next ch-2 corner space. Ch 3, 2 dc, ch 2, 3 dc in same space. Ch 1, 3 dc in next ch-1 side space, ch 1, *3 dc, ch 2, 3 dc in next ch-2 corner space, ch 1, 3 dc in next ch-1 side space, ch 1. Repeat from * 2 more times. Join with sl st to top of beg ch-3. (36 dc, 4 ch-2 spaces, 8 ch-1 spaces)
- Rnd 4: Continue in established pattern, working 3 dc, ch 2, 3 dc into each of the four corner ch-2 spaces and 3 dc into every ch-1 side space, with a ch-1 between all groups of 3 dc. Join with sl st to top of beg ch-3. (48 dc, 4 ch-2 spaces, 12 ch-1 spaces)
Finishing
Fasten off the yarn, leaving a 6-inch tail. Pull the tail through the final loop to secure. Use your tapestry needle to weave the tail through the back of the stitches along the edge, trimming any excess yarn close to the fabric. Repeat this for the starting center tail.
Care & Washing Instructions
- Machine wash in cool water on a gentle cycle using a mild detergent.
- Lay the square flat on a clean towel to air dry, reshaping it into a perfect square while damp.
- If the square appears slightly distorted, block it by pinning it to a foam mat or ironing board and misting it lightly with water until dry.
Pro Tips & Common Mistakes to Avoid
Maintaining consistent tension is the most important factor for a square that lays flat; if your edges look wavy, try a smaller hook size. Always place a stitch marker in the top of your starting ch-3 so you can easily identify where to join your round at the end. Weave in your ends as you go, rather than waiting until the end of a project, to keep your workspace tidy and simplify the final assembly process. If you decide to increase the size of the square by adding more rounds, note that each additional round will require approximately 10–12 yards of additional yarn.
Frequently Asked Questions
Can I use a different yarn weight for this pattern?
Yes, you can use any yarn weight, but you must adjust the hook size to match the yarn manufacturer’s recommendation. Using a thinner yarn will result in a smaller square, while a thicker yarn will create a larger, denser square.
Is this pattern suitable for complete beginners?
This is an excellent project for beginners because it focuses on the double crochet stitch and introduces working into chain spaces rather than individual stitches, which is often easier for those learning to identify gaps.
How do I join these squares together to make a blanket?
You can join squares using a whip stitch with a tapestry needle or by working a row of single crochet stitches through both layers of two aligned squares. Both methods create a secure and decorative seam.
Can I sell the blankets I make from these squares?
You may sell finished items made from this pattern, provided you give credit to the designer in your product listings. Always check the specific copyright terms associated with the pattern source if you are planning on mass-producing items.
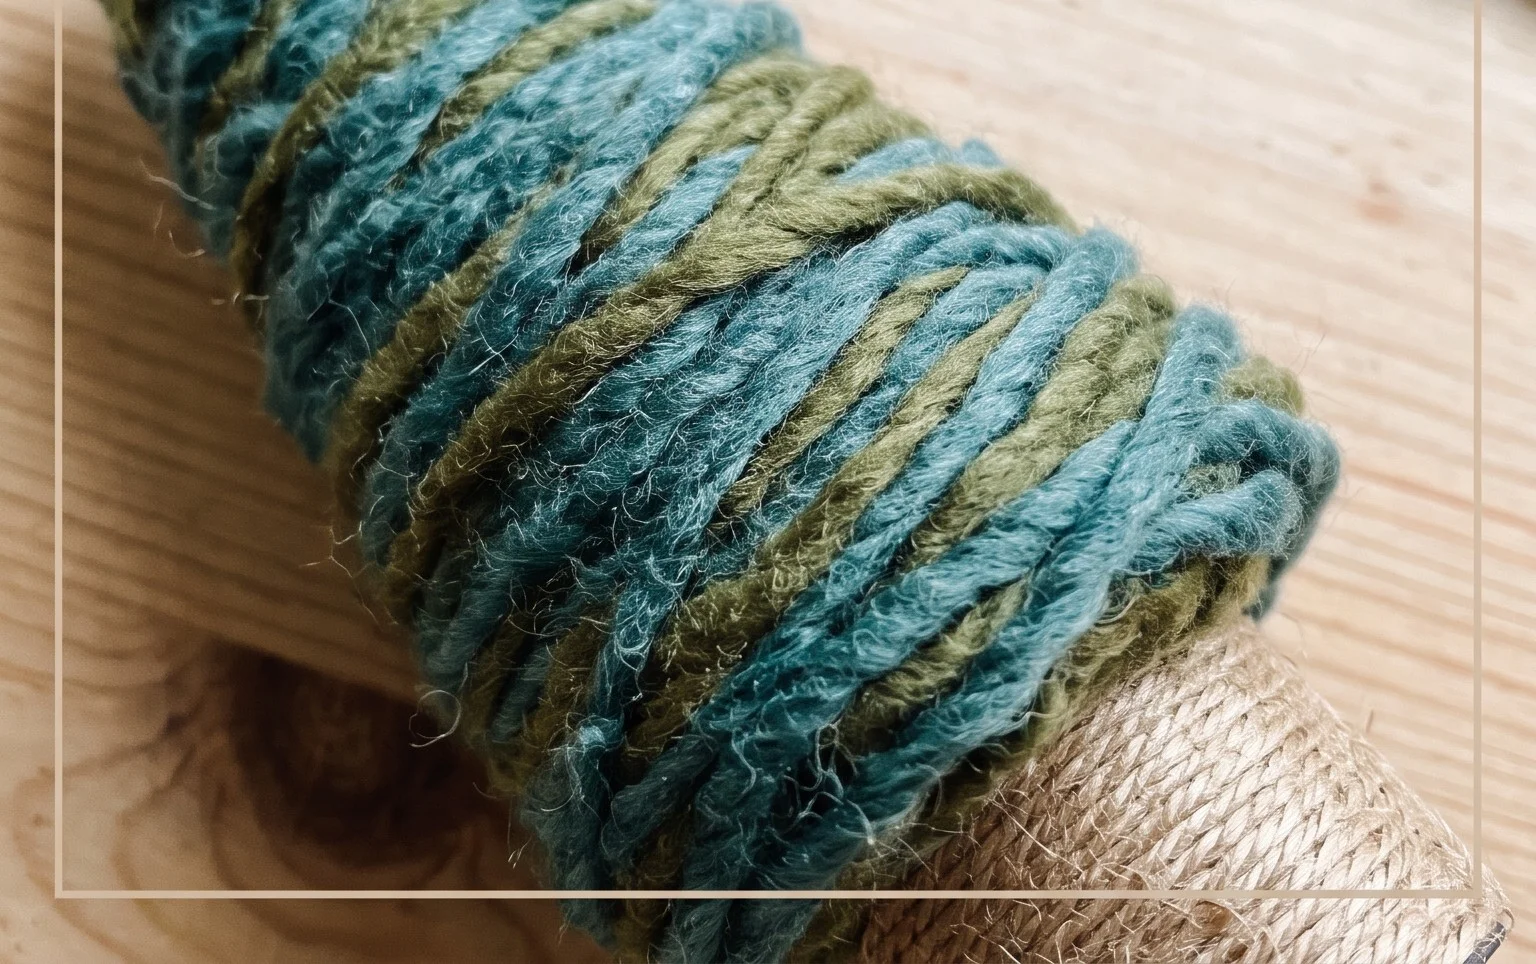
Your finished miniature tree looks charming when clustered in groups on a mantle or hung as a single ornament from a larger fir branch. You can experiment with using metallic thread held alongside your yarn to add a subtle holiday shimmer or work in shades of white for a snow-covered appearance. Sharing a photo of your project on social media helps other makers see your color choices. Browse through the rest of the blog for more free patterns that suit your upcoming winter crafting schedule.