Easy Amigurumi Penguin Free Crochet Pattern Step-by-Step
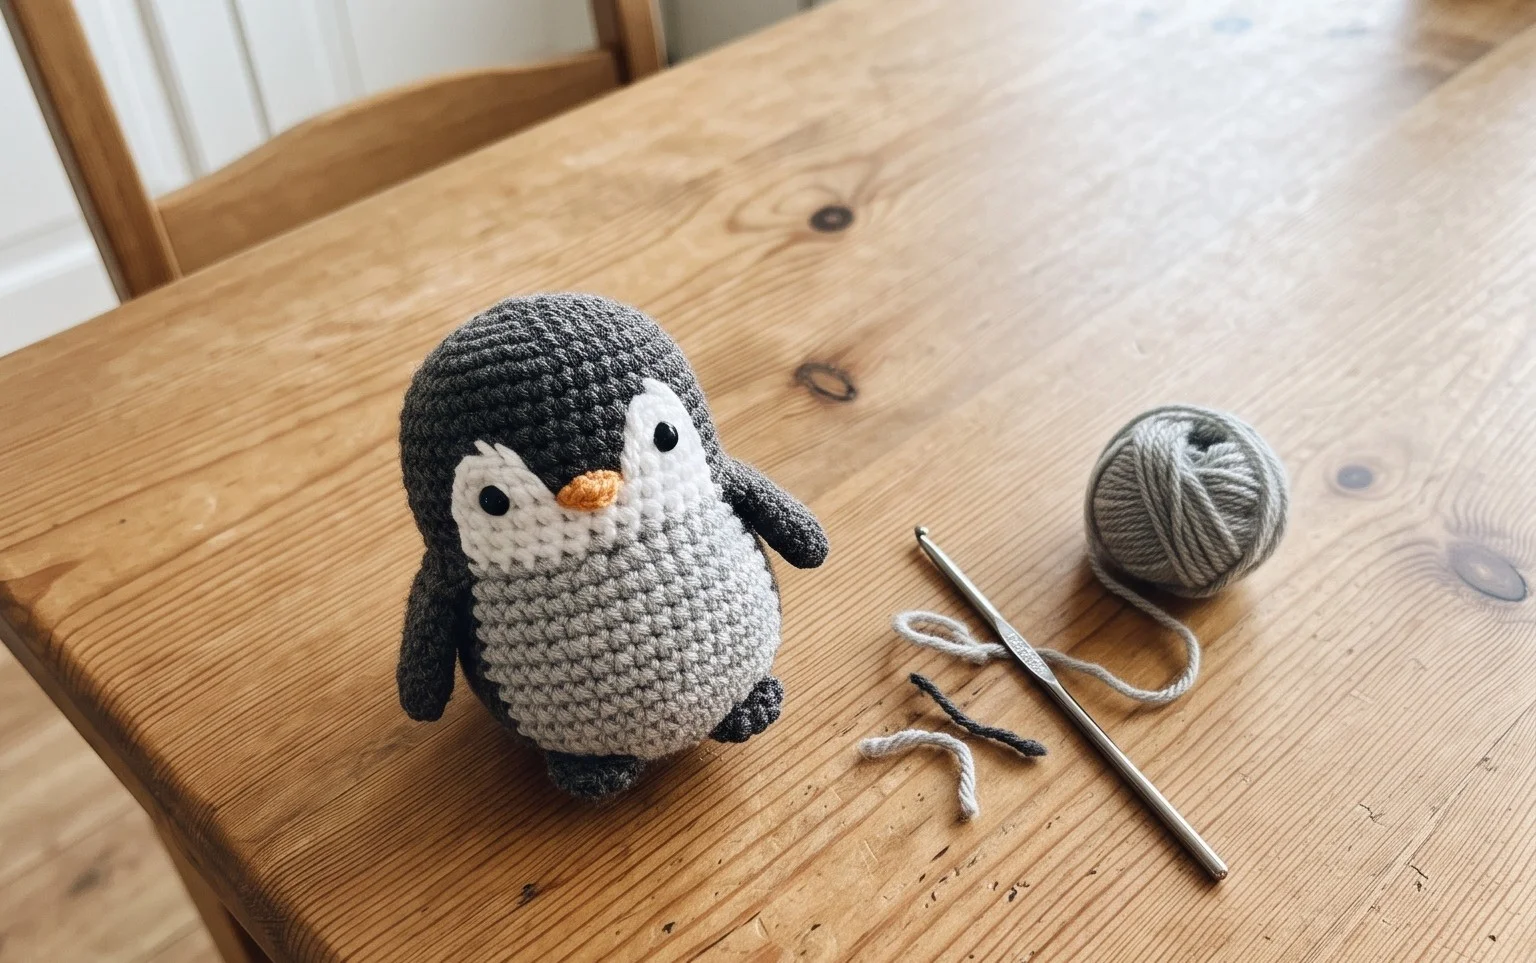
This small penguin sits firmly on any shelf with its rounded, weighted belly and stubby orange feet. It is a fantastic project for someone who wants to practice working in a continuous spiral without worrying about complicated color changes. You will find that the dense stitch texture holds up well to handling, making it a reliable choice for a handmade gift or a quick desk companion. We focus on simple shaping techniques that build the body and head in one continuous piece to reduce finishing time. This project relies on basic increases and decreases, so you can focus on maintaining even tension throughout your work.
Why Crocheters Love It
This beginner-friendly project works up in under two hours, making it an ideal choice for last-minute gifts or stash-busting. Because it relies on basic single crochet stitches worked in a continuous spiral, you avoid the visibility of seam lines often found in flat-panel construction. The resulting fabric is dense and sturdy, which provides the necessary structure to hold the shape of a stuffed toy without showing the fiberfill through the gaps. You can complete this entire project using less than 50 grams of medium-weight yarn, allowing you to use up those leftover balls sitting in your craft basket.
I finished this little bear in a single evening while watching a movie. The instructions were very easy to follow and the final shape is perfectly round without any awkward bulging.
— Sarah, amigurumi enthusiast
Pattern Overview & Skill Level
- Skill Level: Beginner
- Approximate Time: 1.5 to 2 hours
- Construction: Worked in continuous rounds from the base up, incorporating simple increases and decreases to shape the body and head into a single, seamless piece.
- Finished Dimensions & Sizing: Approximately 5 inches tall when using the recommended yarn weight and hook size.
Materials & Supplies Needed
- Yarn: Worsted weight (#4), 100% cotton or acrylic, approximately 40 yards. Cotton provides a cleaner stitch definition, while acrylic is softer and lighter for toys.
- Hook Size: 3.5 mm (US E-4). Using a hook smaller than the yarn label suggests helps keep stitches tight so stuffing does not show.
- Notions: Tapestry needle, stitch markers, polyester fiberfill, and two 8mm safety eyes.
- Safe yarn substitutions: You can use DK weight (#3) yarn to create a smaller, keychain-sized toy, though you may need to add an extra increase round to maintain height. Avoid bulky or super-bulky yarns unless you adjust the stitch counts significantly, as the finished item will lose its compact shape.
Stitch Guide & Abbreviations (US Terms)
- MR: Magic Ring. A technique to start rounds by crocheting into a loop that pulls closed tightly.
- ch: Chain.
- sc: Single crochet. Insert hook, yarn over, pull up a loop, yarn over, pull through both loops on hook.
- inc: Increase. Work 2 sc into the same stitch to add a stitch count.
- dec: Decrease. Invisible decrease is preferred: insert hook into the front loop of the next two stitches, yarn over, pull through both front loops, yarn over, and complete the sc.
- sl st: Slip stitch.
- st/sts: Stitch/stitches.
Step-by-Step Pattern Instructions
Body and Head
- Rnd 1: Start 6 sc in a MR (6 sts).
- Rnd 2: Inc in each st around (12 sts).
- Rnd 3: [1 sc, inc] 6 times (18 sts).
- Rnd 4: [2 sc, inc] 6 times (24 sts).
- Rnd 5: [3 sc, inc] 6 times (30 sts).
- Rnds 6–12: Sc in each st around (30 sts).
- Rnd 13: [3 sc, dec] 6 times (24 sts).
- Rnd 14: [2 sc, dec] 6 times (18 sts).
- Rnd 15: [1 sc, dec] 6 times (12 sts).
At this point, insert the safety eyes between Rnd 9 and Rnd 10, spaced 4 stitches apart. Firmly pack the bottom half of the body with fiberfill.
- Rnd 16: [1 sc, inc] 6 times (18 sts).
- Rnd 17: [2 sc, inc] 6 times (24 sts).
- Rnd 18: [3 sc, inc] 6 times (30 sts).
- Rnds 19–23: Sc in each st around (30 sts).
- Rnd 24: [3 sc, dec] 6 times (24 sts).
- Rnd 25: [2 sc, dec] 6 times (18 sts).
- Rnd 26: [1 sc, dec] 6 times (12 sts).
- Rnd 27: Dec 6 times (6 sts).
Finishing
Cut the yarn leaving a 6-inch tail. Use your tapestry needle to weave the tail through the front loops of the remaining 6 stitches. Pull the thread to close the hole tightly and secure the end inside the body. Use a small amount of extra yarn to embroider a simple nose or mouth if desired.
Care & Washing Instructions
- Hand wash the completed item in cool water with a mild detergent to prevent the fiberfill from clumping.
- Gently press out excess water with a clean towel and lay the toy flat on a drying rack to maintain its shape.
- Avoid using a tumble dryer or iron, as high heat can melt synthetic fibers or cause permanent misshaping of the stuffing.
Pro Tips & Common Mistakes to Avoid
- Maintain consistent tension by holding your yarn with enough resistance that the stitches do not look loose.
- Always place a stitch marker in the first stitch of every round. Since you are working in a spiral, it is easy to lose track of where a round ends without this visual aid.
- Weave in your ends by traveling through the interior of the stitches rather than across the surface to keep the finish looking professional and clean.
- If you want a larger toy, you can add more increase rounds at the beginning, but note that this will require approximately 20% more yarn per additional round of diameter.
Frequently Asked Questions
Can I use a different weight of yarn for this pattern?
Yes, you can use any weight of yarn, but you must match the hook size to the yarn weight to keep the fabric dense. If you use a thicker yarn, the final dimensions will be larger, and you may need more yardage than specified.
Is this pattern suitable for someone who has never crocheted before?
This is a great first project. It teaches the magic ring, basic increases, and decreases, which are the fundamental building blocks of all 3D crochet work.
How do I know if I am stuffing it enough?
The toy should feel firm to the touch but not so full that the stitches pull apart and show the stuffing inside. Add the fiberfill in small pieces until the shape is rounded and resists being squeezed.
Am I allowed to sell the items I make using this pattern?
Please check the original designer terms included in the file or on their website. Many designers allow the sale of finished items on a small scale, provided you credit the original pattern designer in your listing.
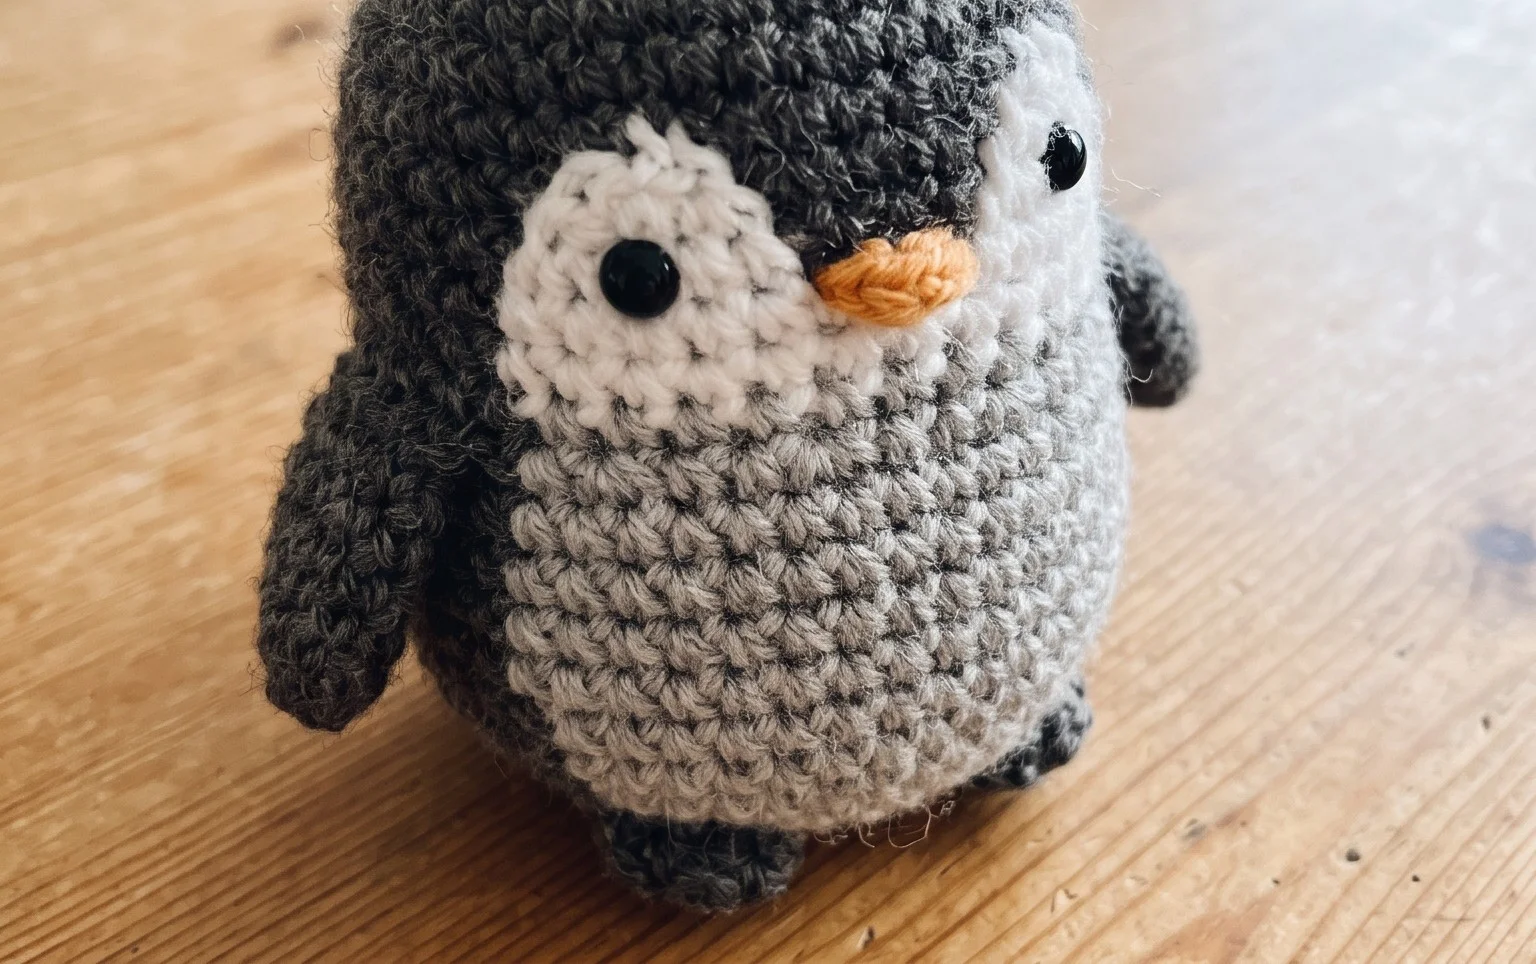
Your finished penguin is a sturdy, charming companion that brings a bit of handmade character to any space. You might try working this in a bulky chenille yarn for a soft, squishy version that doubles as a tactile sensory toy, or perhaps experiment with different beak colors to give each bird a unique personality. Once your penguin is complete, upload a photo to social media to show off your stitches. Feel free to browse through the rest of the blog archives for more free patterns that share these simple construction methods.