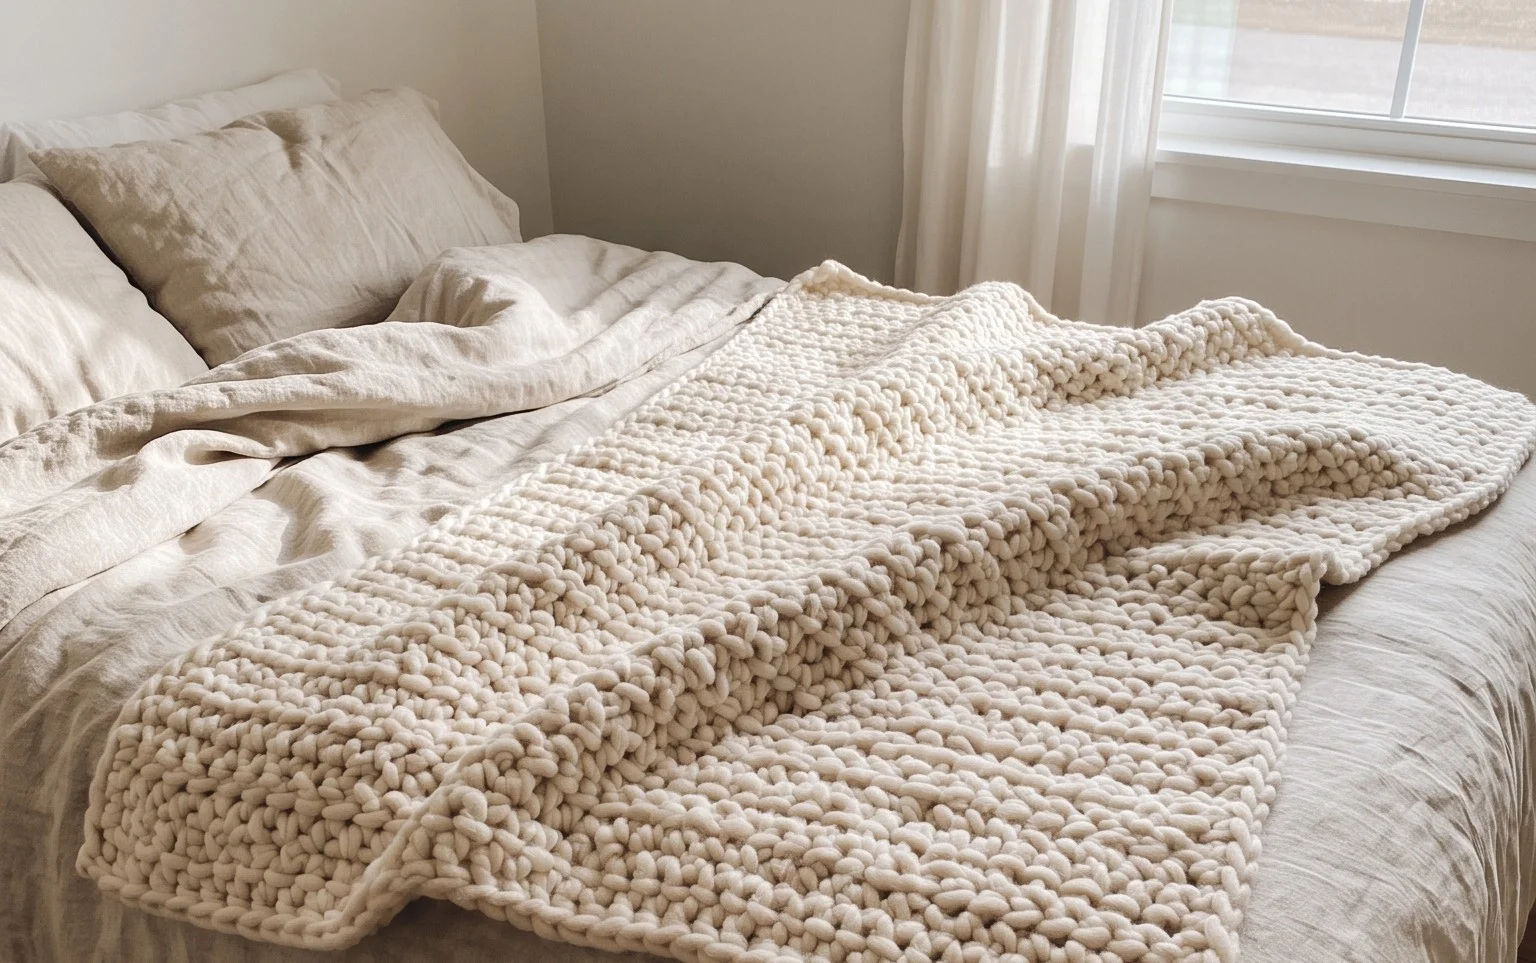
Easy Crochet Snowflake Square Pattern for Beginners
This delicate geometric square features a crisp, star-like center that brings a touch of winter charm to any table surface. Beginners often find this project rewarding because it uses simple double crochets and chain spaces to create a dense, functional fabric that holds its shape wash after wash. You will enjoy the rhythmic nature of building the snowflake points outward from a central magic ring, which prevents the edges from curling. Whether you need a handmade gift or a quick way to freshen your home decor, this project provides a satisfying experience for makers of all skill levels.
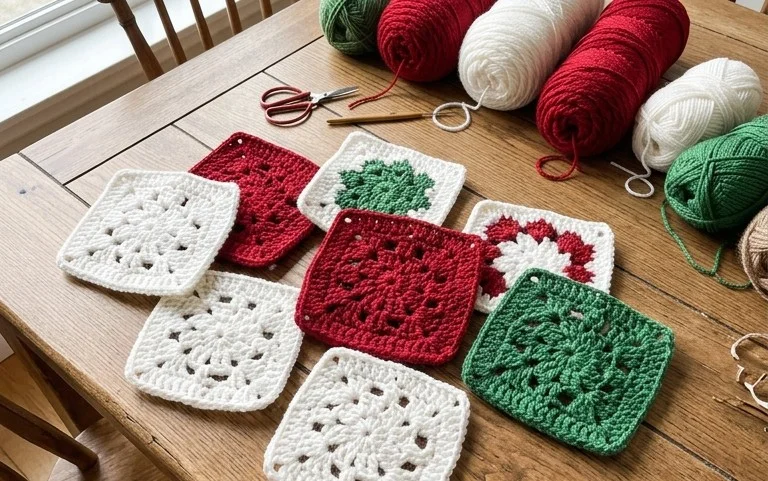
Why You’ll Love This Pattern
This beginner-friendly crochet coaster pattern uses a simple, circular construction that works up in less than 30 minutes. It is an ideal way to use up small amounts of leftover cotton yarn from larger projects. The dense, flat texture provides excellent heat protection for wooden tables and desks, and the elegant, minimalist design makes these a thoughtful, quick-to-make gift for housewarmings or birthdays. You can easily adjust the number of rounds if you prefer larger mats for mugs or small bowls.
I managed to finish a set of four coasters in one afternoon while watching a movie. The instructions were very easy to follow and the result is perfectly flat.
— Sarah, crochet enthusiast
Pattern Overview & Skill Level
- Skill Level: Beginner
- Approximate Time: 20-30 minutes per coaster
- Construction: Worked in continuous rounds, starting with a magic ring and utilizing increases to maintain a flat circle.
- Finished Dimensions & Sizing: Approximately 4 inches in diameter when using worsted weight cotton.
Materials & Supplies Needed
- Yarn: Worsted weight (#4) 100% cotton yarn, approximately 15 yards per coaster. Cotton is chosen for its absorbency and heat resistance.
- Hook Size: 5.0 mm (H-8) crochet hook.
- Notions: Tapestry needle for weaving in ends, a locking stitch marker to keep track of the start of rounds, and scissors.
- Safe Yarn Substitutions: You may use acrylic yarn, though it is less absorbent and will melt if exposed to direct heat from a hot beverage. Using a lighter weight yarn like DK (#3) will result in a smaller finished size unless you add an extra increase round.
Stitch Guide & Abbreviations (US Terms)
- MR: Magic ring (a way to start rounds by crocheting over a loop).
- ch: Chain stitch.
- sc: Single crochet.
- inc: Increase (work 2 sc into the same stitch).
- st/sts: Stitch/stitches.
- sl st: Slip stitch to join the round.
- BLO: Back loop only.
Step-by-Step Pattern Instructions
Coaster Body
- Rnd 1: Start with a MR, work 6 sc into the ring. Pull the tail tight to close the center. (6 sts)
- Rnd 2: Work 2 sc in each st around. Place a stitch marker in the first st of the round. (12 sts)
- Rnd 3: 1 sc in next st, inc in next st. Repeat from * to * 6 times. (18 sts)
- Rnd 4: 1 sc in each of the next 2 sts, inc in next st. Repeat from * to * 6 times. (24 sts)
- Rnd 5: 1 sc in each of the next 3 sts, inc in next st. Repeat from * to * 6 times. (30 sts)
- Rnd 6: 1 sc in each of the next 4 sts, inc in next st. Repeat from * to * 6 times. (36 sts)
- Finishing: Join with a sl st to the first stitch of the round. Fasten off, leaving a 4-inch tail.
Assembly and Finishing
Use your tapestry needle to weave the starting tail into the center of the MR to secure it. Weave the tail from the final round into the underside of the stitches to ensure it is hidden and secure. If the coaster looks slightly wavy, steam block it by pinning it to a flat surface and holding a steam iron or steamer a few inches above the surface until the stitches relax into a flat position.
Care & Washing Instructions
- Machine wash your cotton coasters on a delicate cycle in cool water to prevent fading or shrinkage.
- Reshape the coasters while damp and lay them flat on a clean towel to air dry completely.
- Avoid using high heat in the dryer, as this can degrade the fiber and cause the coaster to lose its shape.
Pro Tips & Common Mistakes to Avoid
Maintain consistent tension throughout the rounds; if your stitches are too loose, the coaster will look holey, and if they are too tight, the coaster will cup inward instead of lying flat. Always move your stitch marker up as you complete the first stitch of every new round to ensure your counts remain accurate. When weaving in your ends, run the tapestry needle under the back loops of the finished stitches on the reverse side of the work to ensure the tails stay hidden during use. If you choose to resize the coaster by adding more rounds, remember that each additional round increases the stitch count by 6; you will need more yarn, so ensure you have enough yardage before starting.
Frequently Asked Questions
Can I use a larger hook for this pattern?
Yes, using a larger hook will make the coaster grow in size and the fabric will become lacier. However, it may not provide as much protection for your furniture.
How can I make the coaster bigger?
You can add additional rounds following the same increase pattern. For Rnd 7, work 5 sc followed by an increase, and for Rnd 8, work 6 sc followed by an increase.
Are these coasters suitable for a complete beginner?
Absolutely. This pattern uses basic stitches and clear, simple increase sequences that are perfect for learning how to work in continuous rounds.
May I sell the coasters I make from this pattern?
Please check the individual license terms of the designer; generally, small-batch sales are acceptable if you credit the designer for the pattern.
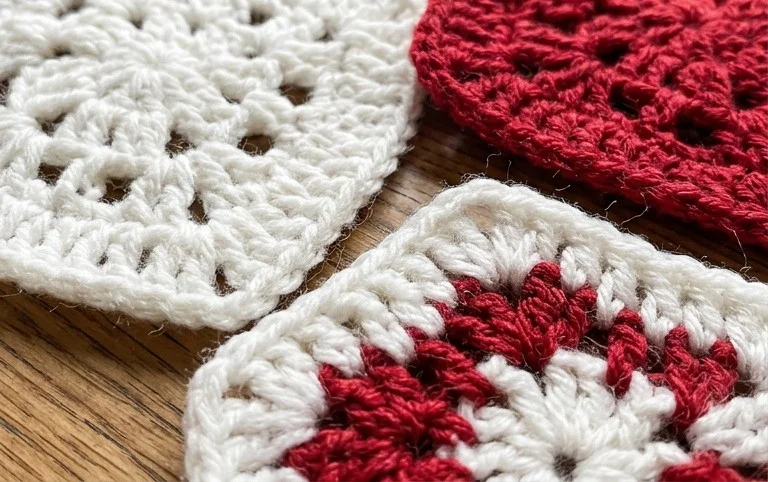
You now have a crisp, durable square that protects your furniture while adding a bit of handmade character to your space. You can experiment with variegated yarn for a colorful winter look or switch to a metallic thread if you want a subtle shimmer for holiday displays. Seeing your work is always fun, so please share a photo of your finished square on social media. You can find more free designs and seasonal projects by browsing the rest of the craft blog whenever you have time.